6 Film Photography Hacks Inspired by Vintage Darkroom Techniques
Film photography has a rich history, with many techniques developed in the darkroom that photographers used to enhance their work. While we may not all incorporate darkrooms in our photography practice today, the essence of these methods can inspire creative hacks for shooting, developing, and scanning your film. Here are 10 hacks inspired by vintage darkroom techniques that bring the analog to the digital world and can be extremely helpful in your photography practice today.
1. Split Toning Hack for Scanning
Original Darkroom Technique:
Split toning was a popular method in darkrooms to add two distinct tones to a print, typically warm hues for highlights and cool hues for shadows. This was done during the photo processing stage using chemical toners like selenium or sepia.
The Hack:
You can replicate this effect digitally with scanned negatives. By separating tones in highlights and shadows, you can mimic the mood and colors of split toned prints.
How To:
Scan Your Film Photo: Use high resolution, like Nice’s 4K scans and/or Pro Scans to preserve shadow and highlight details.
Open the File in Lightroom or Photoshop: Use Lightroom’s “Color Grading” panel or Photoshop’s “Gradient Map” adjustment.
Adjust Highlights and Shadows:
Apply warm tones (e.g., yellows or sepias) to highlights.
Apply cool tones (e.g., blues or greens) to shadows.
Blend softly to create a natural transition between the two.
Benefits:
Adds dimension to 35mm film photos, giving them a vintage, cinematic look.
Perfect for portraits or landscapes that lack tonal depth.
Cons:
Can be time consuming to get the balance right.
May not appeal to those who prefer a “pure” film aesthetic.
2. Dodging and Burning with DIY Tools
Original Darkroom Technique:
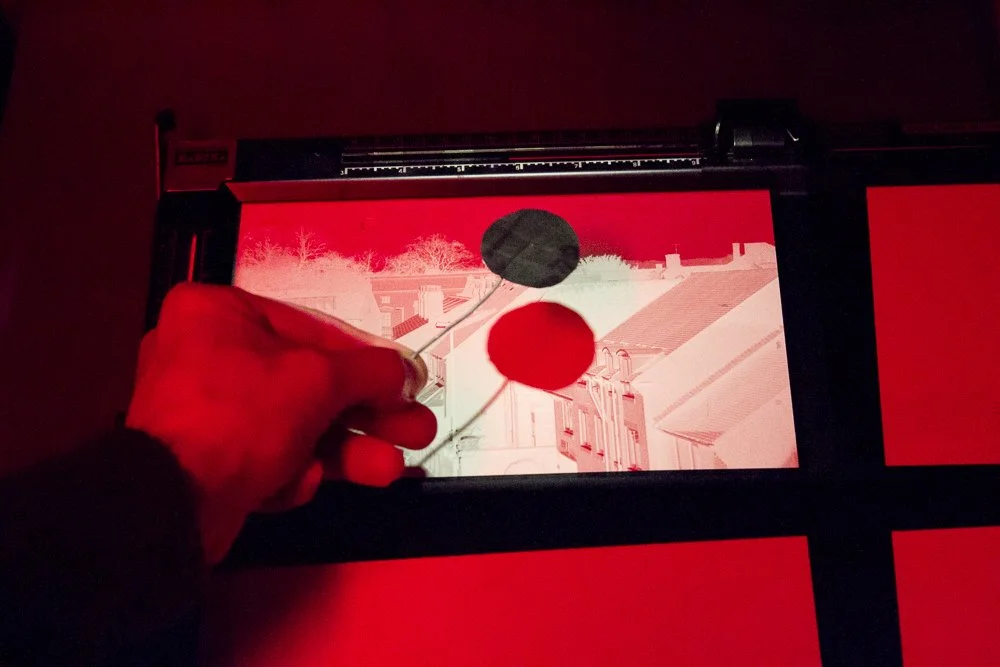
Dodging and burning are critical steps in the darkroom, allowing photographers to lighten or darken specific areas of a print by selectively exposing areas of the photo paper to light or blocking those areas from light. In the darkroom this is traditionally done with a pink dodging tool and a cardboard cut out burning tool.
The Hack:
You can recreate dodging and burning on your scanned film photos using photoshop tools that the software has made very easy to access.
How To (Digital):
Duplicate the Image Layer: Press Ctrl + J (Windows) or Cmd + J (Mac) to duplicate your layer, so you can begin editing.
Select the Dodge or Burn Tool: Access the tools in the Photoshop toolbar (shortcut: O).
Adjust Tool Settings:
Brush Size: Use a soft brush for smooth effects, adjusting size with
[or].Range: Select Highlights (lighten) or Shadows (darken), depending on the area you’re editing.
Exposure: Start low (5–15%) for subtle adjustments.
Dodge to Lighten: Brush over areas to brighten (e.g., highlights or focal points).
Burn to Darken: Switch to the Burn Tool and brush over areas you want to deepen (e.g., shadows or edges).
Refine Edits: Lower the tool’s opacity for precision and use a mask for even greater control over specific areas.
How To (Analog):
Dodging: This is typically done during your initial print exposure on the enlarger. Wave your dodging tool over the desired area to create an even lightening effect.
Burning: Burning is often done after the initial exposure. Use your hands, a cardboard or paper cutout, or any object of your choice to block light so the enlarger only shines on specified areas of your print.
Benefits:
Adds drama and focus to specific parts of the image, such as the subject’s face.
Replicates the tactile precision of traditional darkroom photo processing.
Cons:
Analog manipulation requires trial and error.
Overdoing it digitally can make photos look unnatural.
3. Solarization with Double Scanning
Original Darkroom Technique:
Solarization is a unique darkroom effect where a partially developed print is exposed to light, creating a surreal, high contrast reversal of tones.
The Hack:
Achieve solarization digitally by combining negative and positive scans of the same 35mm film photo.
How To:
Scan the negative once as a positive image and once as a negative.
Overlay the two scans in Photoshop.
Set the top layer to “Difference” or “Overlay” blending mode.
Adjust levels to exaggerate contrast and create strong outlines.
Benefits:
Adds a striking, experimental quality to your film photos.
Offers a modern twist on an iconic darkroom technique.
Cons:
Works best with high contrast images; may not suit all photos.
Requires careful blending to avoid looking overly edited.
4. Grain Control with Film Stock Layering
Original Darkroom Technique:
Grain in a film photo is controlled by selecting specific paper textures or adjusting developer times during film developing. Fine grain adds clarity, while coarse grain enhanced texture.
The Hack:
Digitally overlay grain textures onto your scanned negatives to emulate vintage results. In it’s conception this look was very clearly a digital manipulation, but overtime artificial grain textures have become much more “real” looking and aesthetically pleasing
How To:
Create or download a high quality grain texture file.
Overlay it onto your scanned image in Photoshop.
Set the blending mode to “Multiply” or “Soft Light.”
Use masks to apply grain selectively to areas like the sky or shadows.
Benefits:
Gives control over grain intensity, ideal for 35mm film photos that need texture.
Helps emulate the classic look of darkroom photo processing film workflows.
Cons:
Artificial grain can still look inauthentic if overused/not done with precision.
Requires precise blending for a realistic effect.
5. Contrast Boosting with Layer Masks
Original Darkroom Technique:
Photographers almost always use contrast filters in the enlarger and/or employ them in dodging/burning to boost specific areas of a print, emphasizing depth and detail.
The Hack:
Use layer masks to selectively enhance contrast in your scanned film photos.
How To:
In Photoshop, duplicate your image and apply a “Curves” adjustment layer to boost contrast.
Add a mask to this layer and paint black on areas where contrast should remain low.
Focus on enhancing key areas like the subject or foreground.
Benefits:
Helps highlight subjects and add depth to 35mm film photos.
Mimics the selective precision of darkroom work.
Cons:
Over contrasting can make images look harsh.
Requires practice to master masking techniques.
6. Hand Tinting Digitally
Original Darkroom Technique:
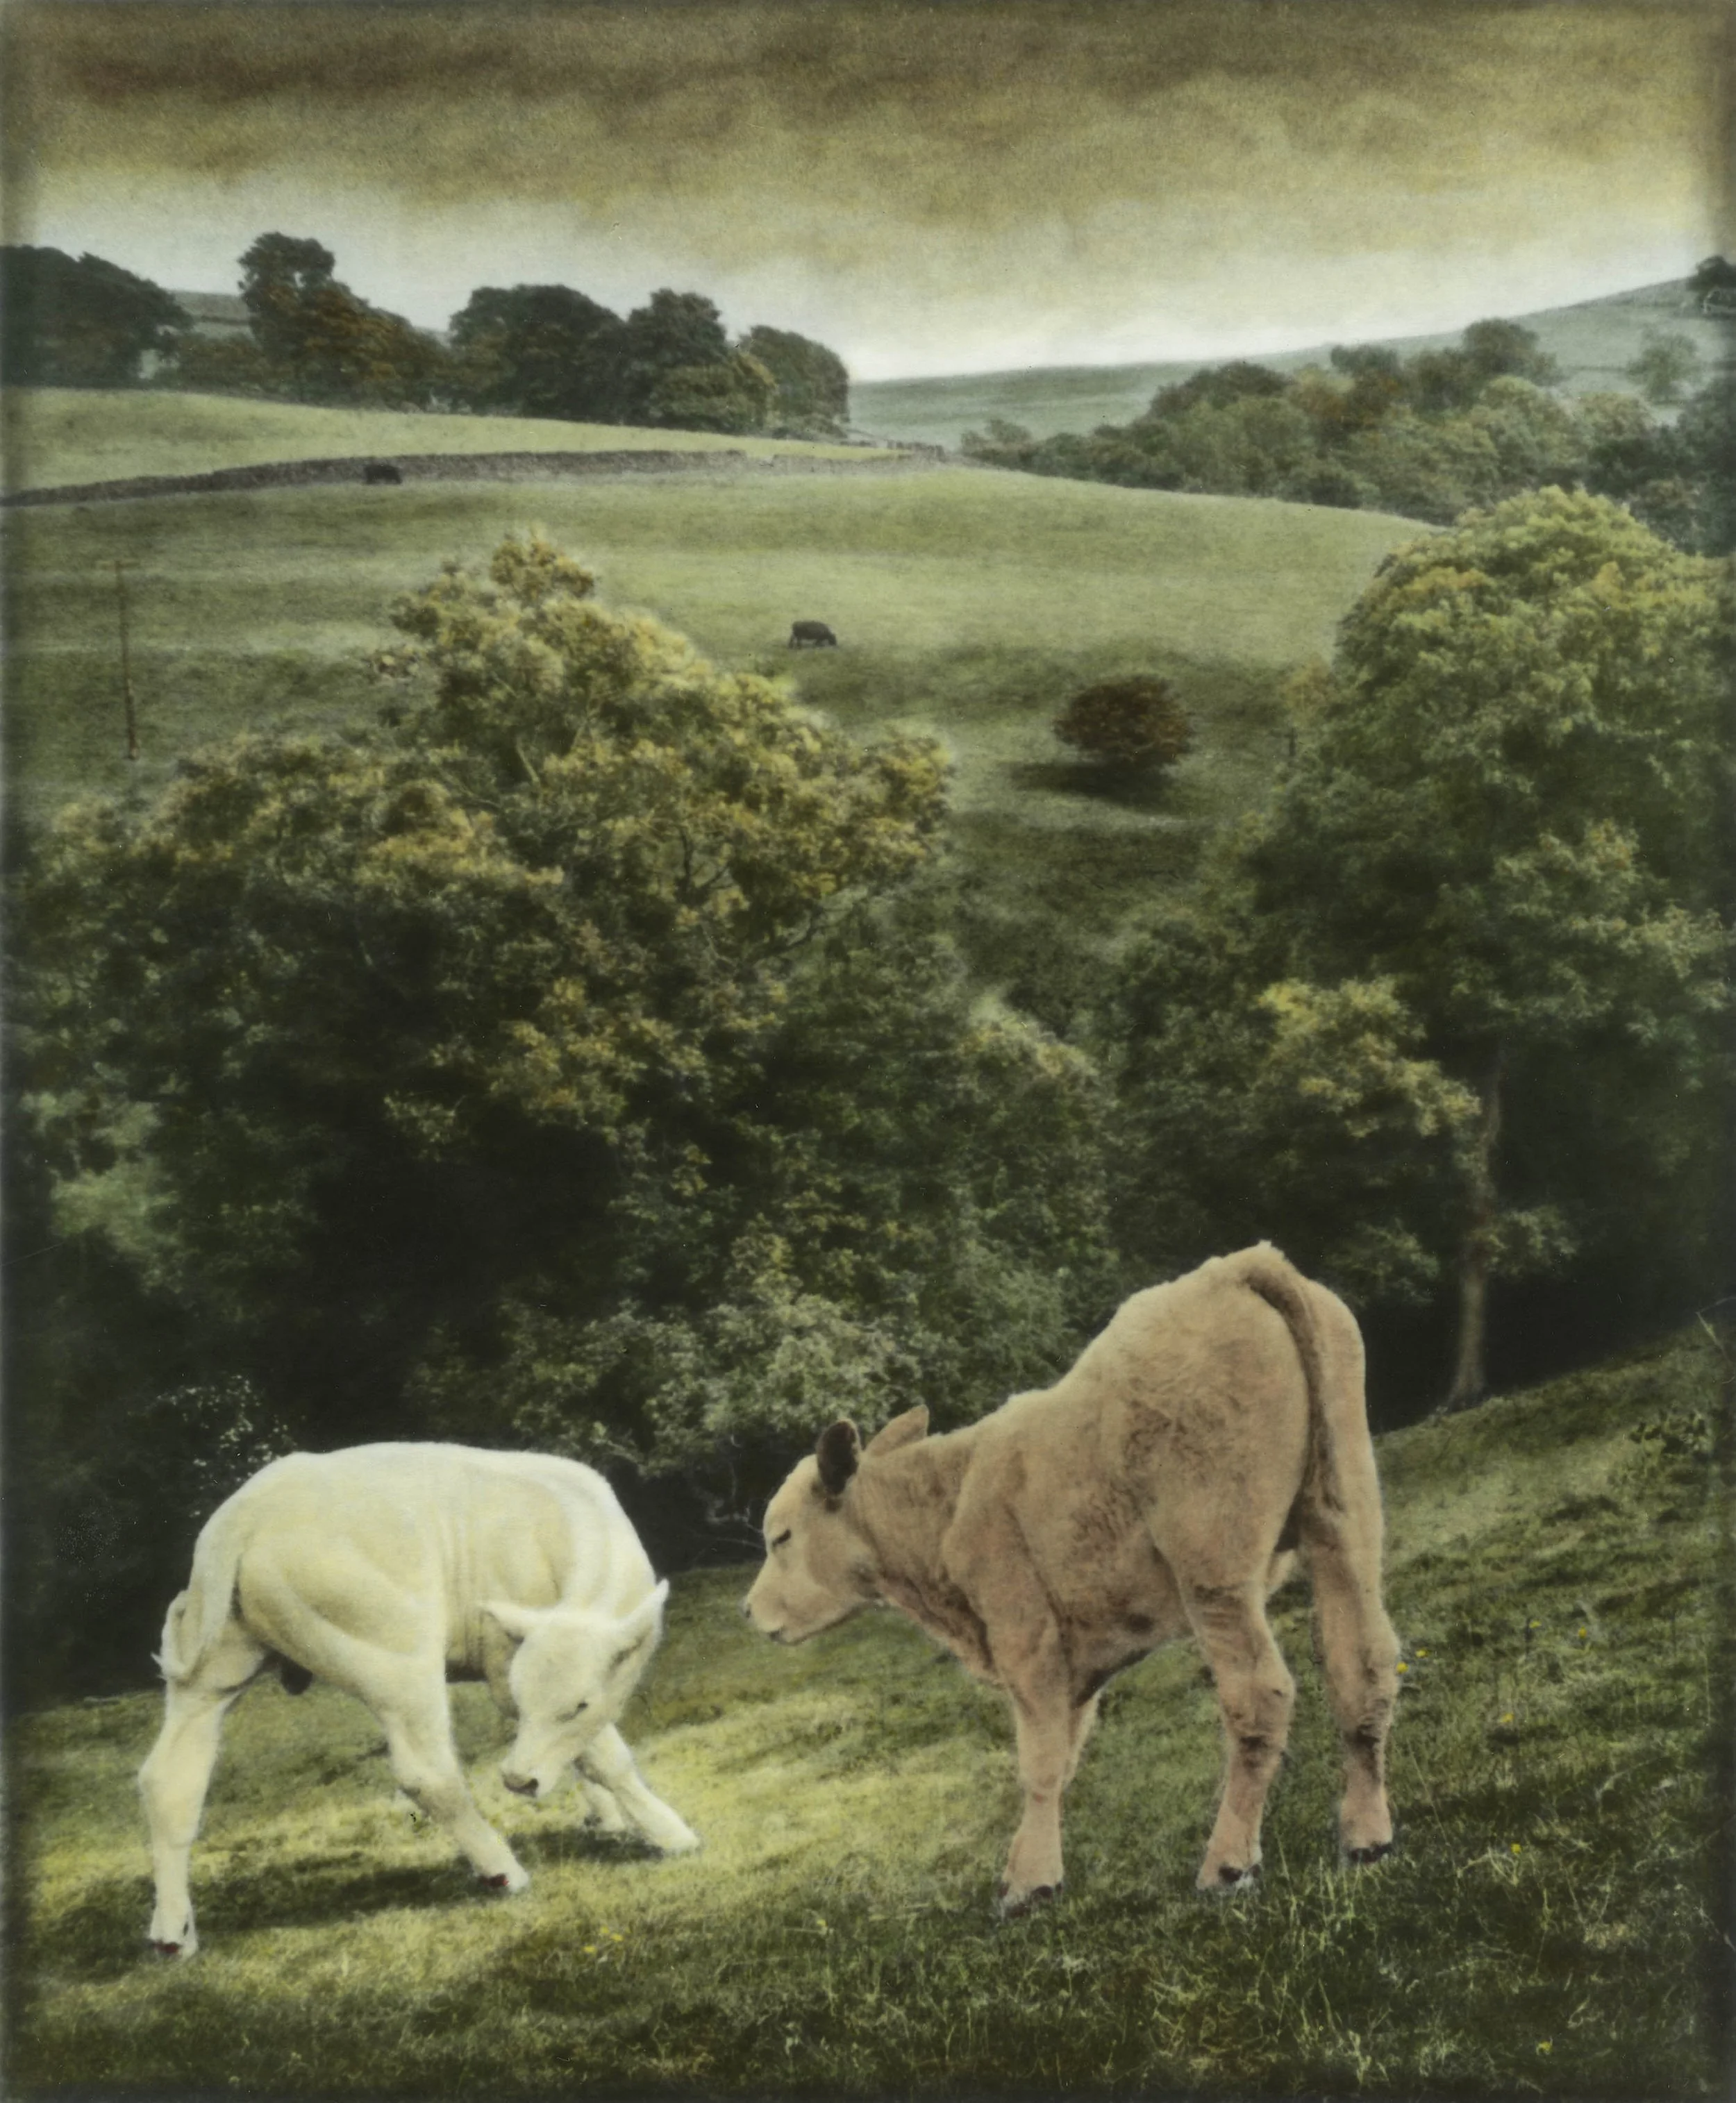
In the early days of photography, hand tinting involved applying dyes or paints to black and white prints to add color. Colorists used cotton swabs to manually apply pigments. This was usually translucent oils but sometimes dyes or even tempera. Fine details were then added with a stylus, pin, or oil pencils This was a labor intensive process but produced stunning, one of a kind results.
The Hack:
Digitally hand tinting black and white scans for a vintage aesthetic.
How To:
Desaturate your scanned image to create a true black and white base.
Create a new layer in Photoshop, set it to “Color” blending mode, and use a soft brush to apply colors.
Focus on small details like lips, clothing, or skies for an authentic look.
Benefits:
Brings new life to monochrome film photos.
Offers creative flexibility without damaging the negative.
Cons:
Requires time and patience to achieve a realistic effect.
Can feel overly digital if done poorly.
This is not just about selective coloring, real effort must be put in to get the desired effect.
These hacks combine the artistry of darkroom techniques with the convenience of modern tools, offering new ways to process and enhance your 35mm film photos. Whether you’re experimenting with tones, textures, or exposure, these methods let you bridge the gap between tradition and innovation. It’s interesting to see how sometimes the digital “innovation” is often far more complex than just working with your hands, but as we bring darkroom techniques to the digital age it's important to remember their long history in the world of photography.
If you enjoyed this blog, be sure to visit nicefilmclub.com for all your film development and scanning needs!


