Alternative Ways to Develop Your Film
Film photography isn't just about capturing moments onto emulsion, but also about the intricate and fascinating process of film developing and turning those memories into tangible photographs. While the traditional method of film developing using chemicals in a darkroom is most common, there are several alternative techniques and methods that photographers have experimented with over the years. The methods have been used to create surreal and experimental images that mark artists’ work with originality and process-oriented sensibility. This article delves into some unique and interesting ways to develop your film.
Caffenol Development
What it is: Caffenol is a homemade film developer made primarily from instant coffee, washing soda (sodium carbonate), and optionally, vitamin C (ascorbic acid). Its name derives from its main ingredient, coffee. Caffenol-developed photographs often possess a distinct appearance characterized by unique tonal ranges, grain structures, and sometimes a slight brown tint.
Why try it: Many commercial film developers contain chemicals that are harmful to the environment. In contrast, caffenol ingredients are biodegradable and less toxic. Caffenol is appealing because the ingredients are readily available in most households or can be easily procured.
How to do it: Mix instant coffee, washing soda, and vitamin C in specific proportions with water, and use this mixture as your developer in the darkroom.
Variations of Caffenol:
Caffenol-C: Includes vitamin C and is known for producing finer grain.
Caffenol-CL: Contains less coffee and is meant for longer development times.
Caffenol-CM: A balanced version suitable for a wide range of films.

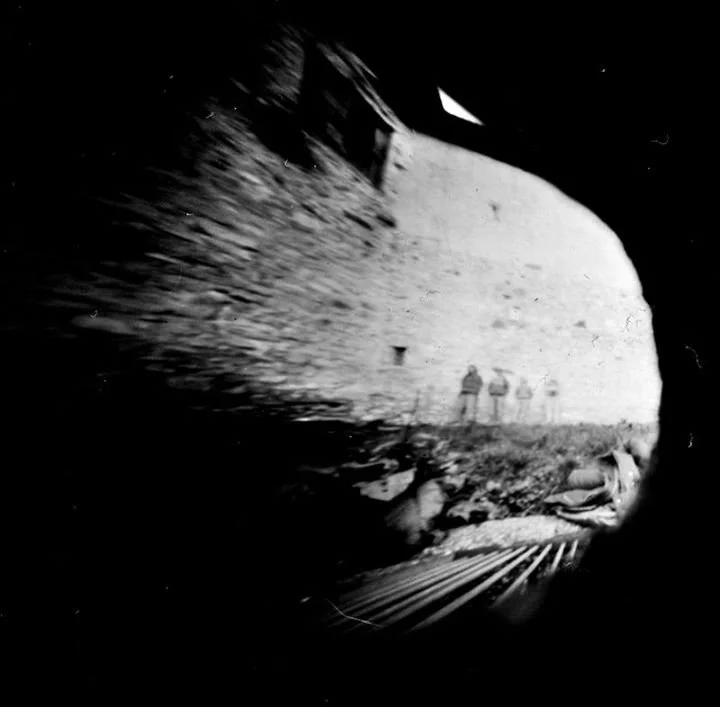
Cafenol Development on Fomotone MG Classic paper. ©Dirk Essl
Wine Development
What it is: Using red wine as a primary ingredient for film developing. The key components in wine that aid in the film development process are the organic compounds, tannins, and acids.
Why try it: This provides unusual color effects and is a fun experiment for wine lovers. The type of wine, its age, and other properties can affect the final look of the developed film.
How to do it: Replace the traditional film developer with red wine mixed with vinegar and washing soda.

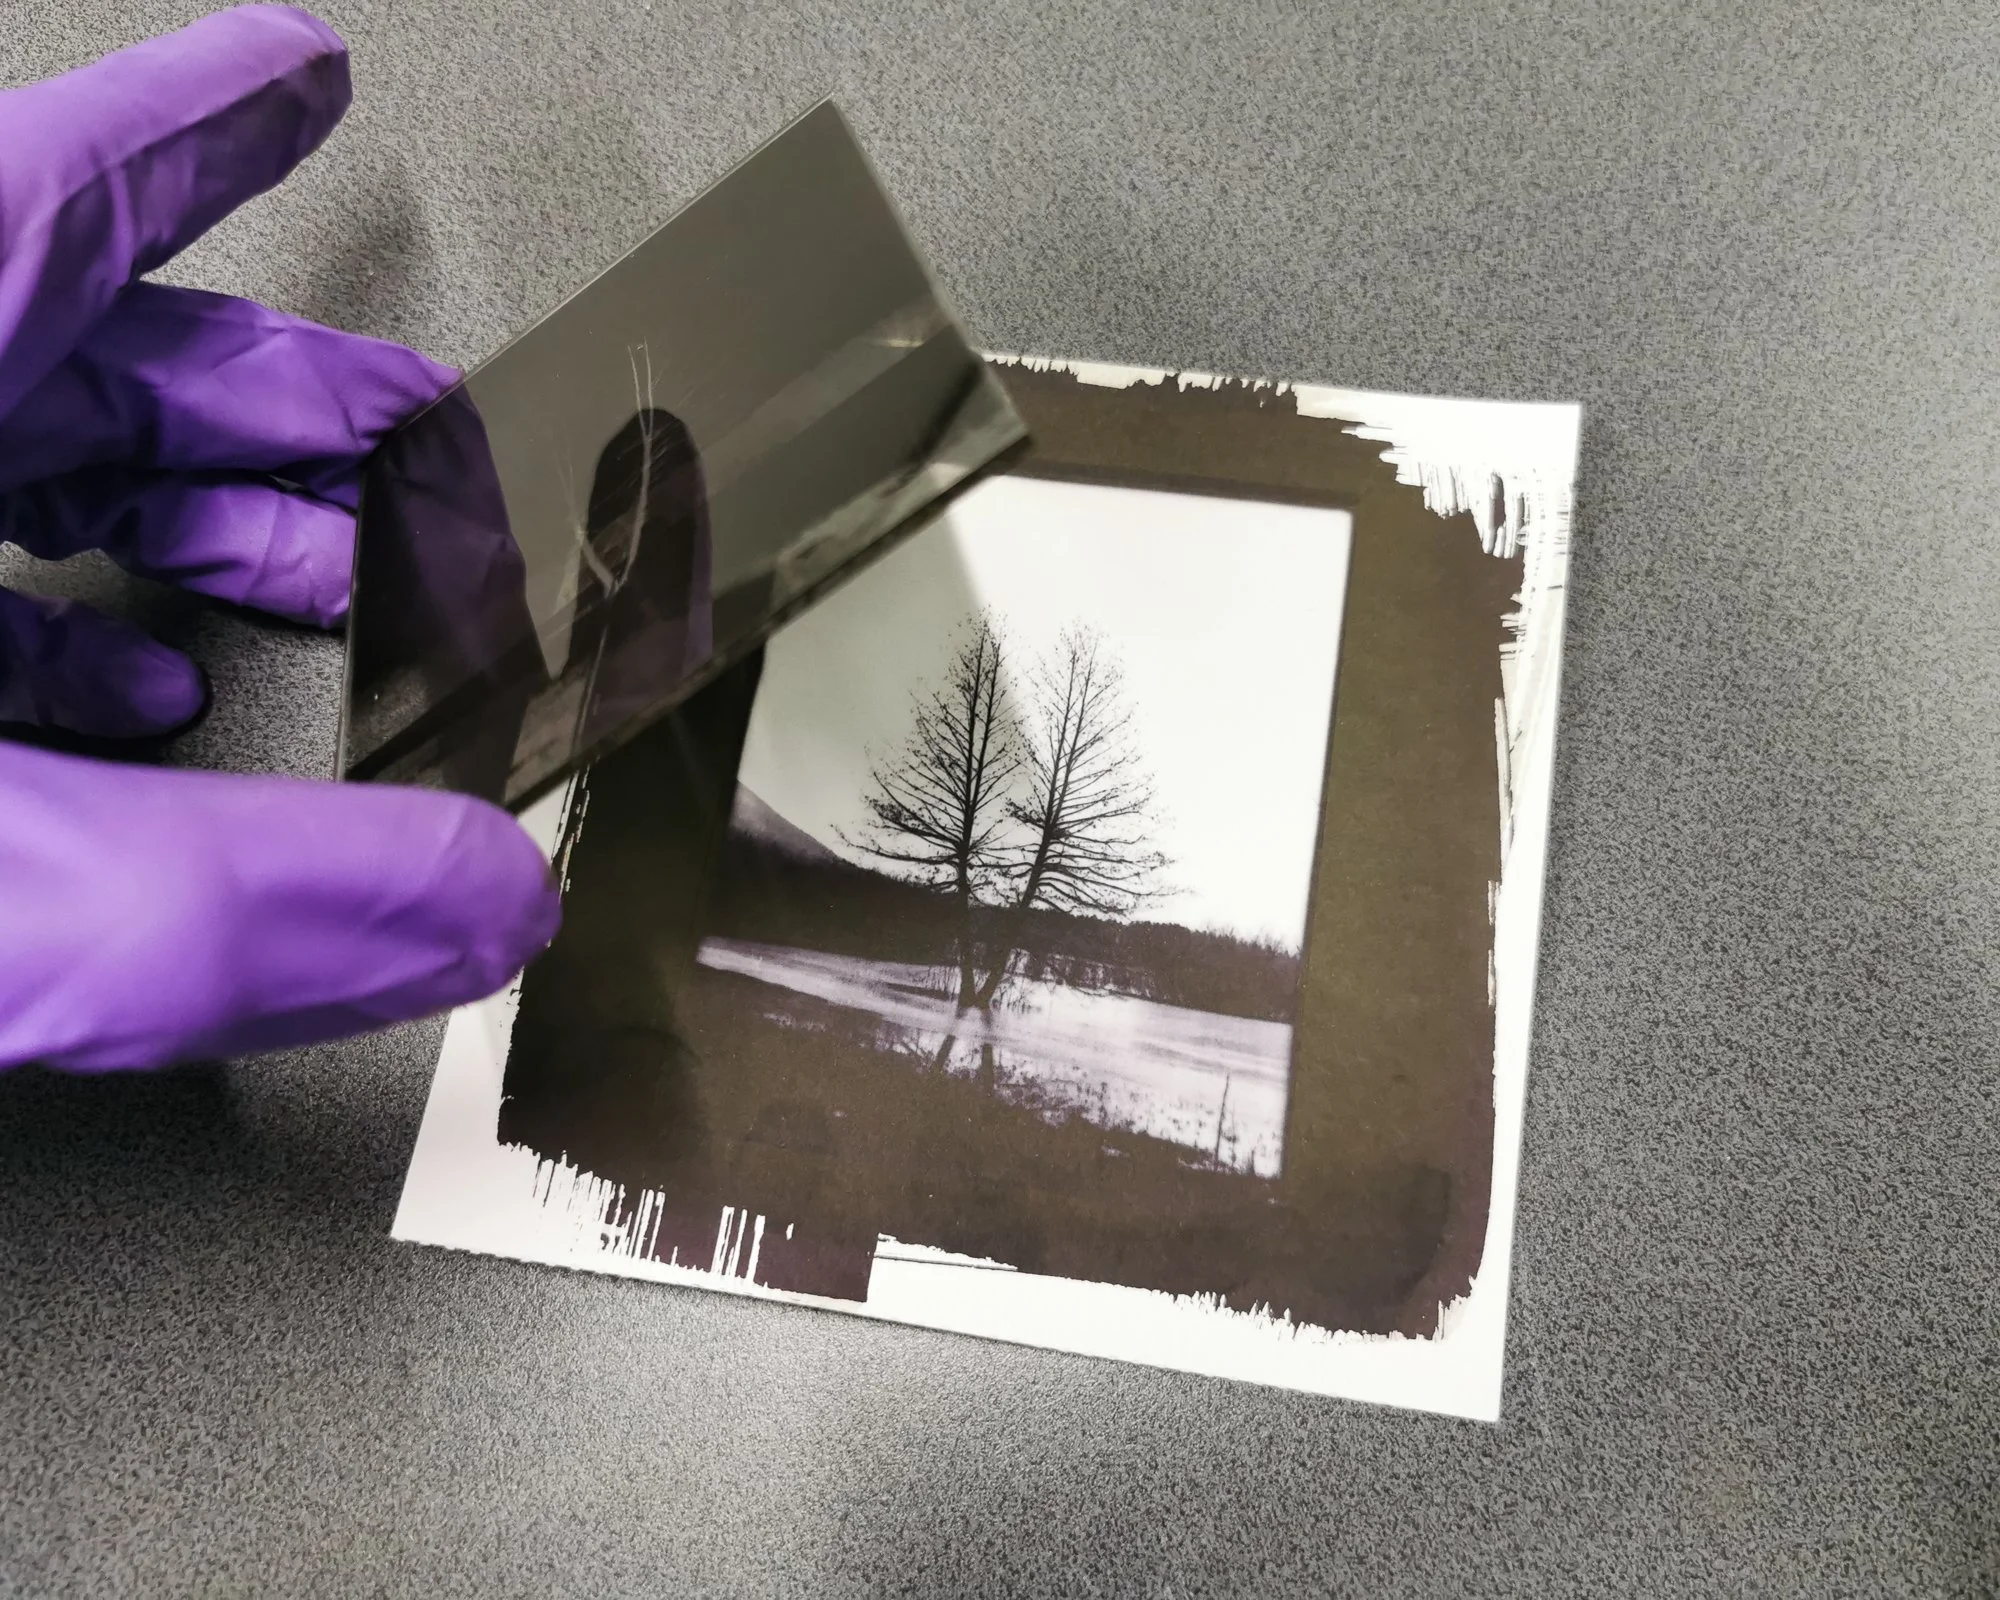
Side by side print of a negative-scan and the Wineol developed printed paper ©Dirk Essl
Beet Juice and Berries
What it is: This method involves using the natural pigments from beets and berries to influence the tone and color of photographic prints. Instead of acting as primary film developers, these materials are typically used for toning or staining. The juice adds color to the images post the film development process.
Why try it: Using beet juice and berries in film developing underscores the serendipitous nature of analog photography. It's a testament to the infinite possibilities when art meets nature. A nod to eco-conscious processes, these ingredients are organic and environmentally friendly.
How to do it: After the film or photographic paper has been developed and fixed, introduce the beet or berry juice. Immerse the print or film in the juice, ensuring it's completely covered. Leave it for a duration ranging from 5 minutes to several hours, depending on the desired intensity of the color. The longer the immersion, the stronger the stain.
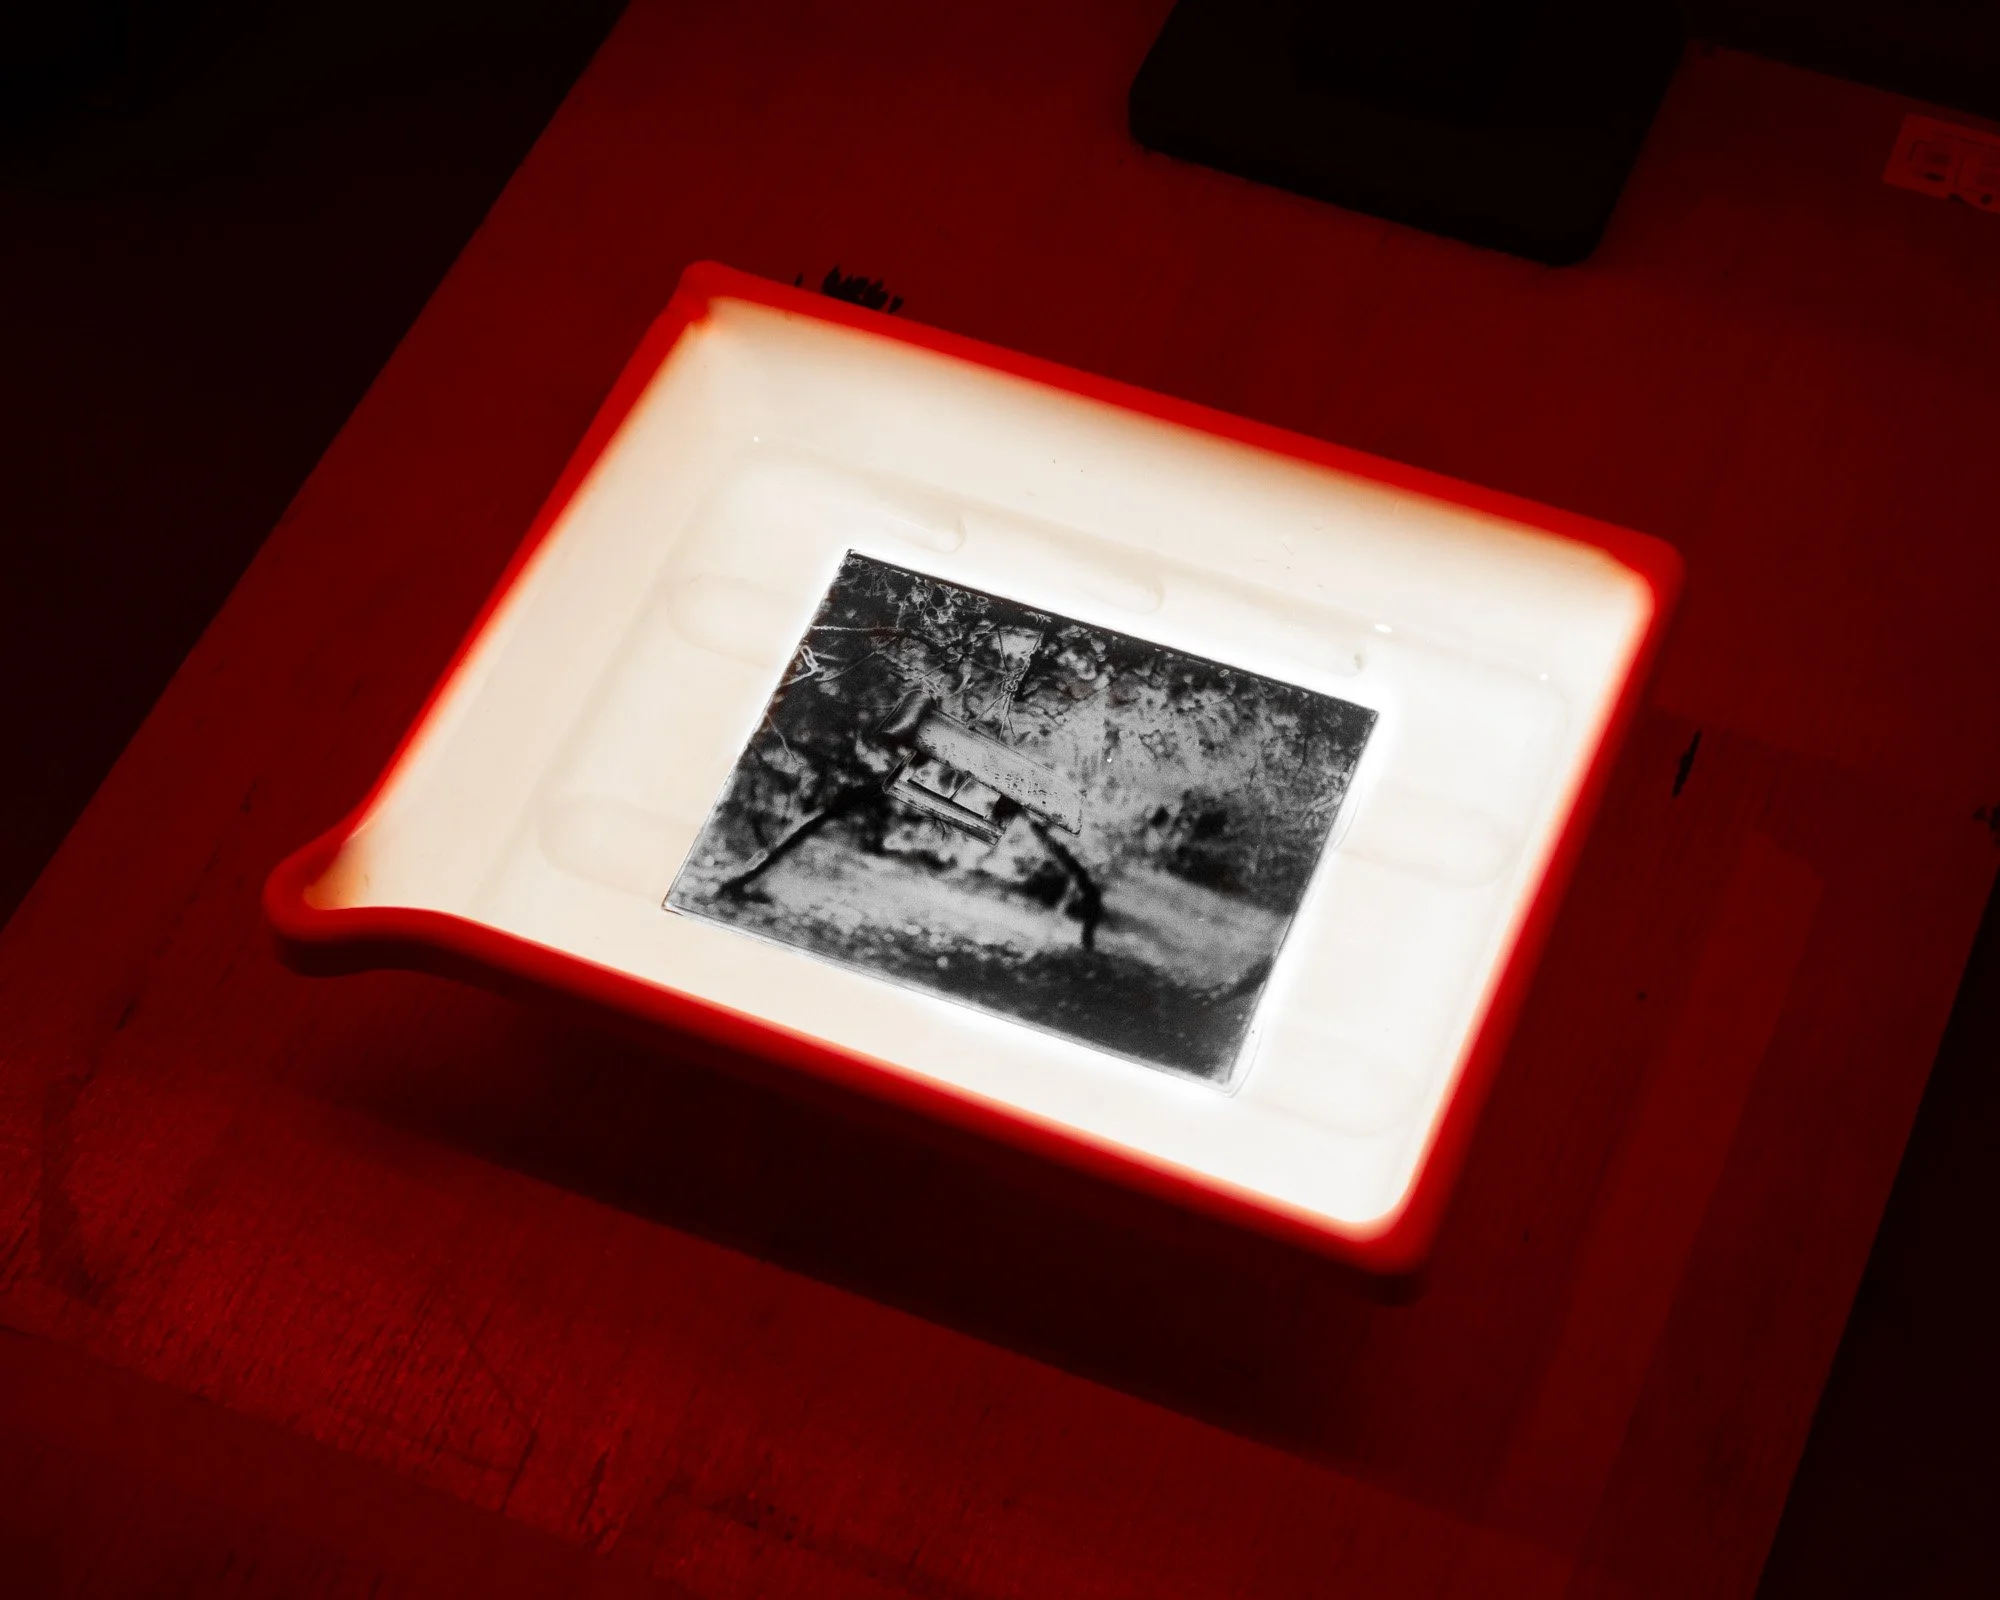
Beet juice as developer ©Tina Bele
Salt Print Process
What it is: One of the oldest photographic film development processes, involving a paper coated with silver chloride that's exposed to sunlight. The choice of paper can significantly affect the final image's texture and appearance. Historically, a range of handmade papers were used. By altering the salt concentration, using different toners, or changing the silver nitrate concentration, photographers can achieve a range of tones and contrasts in the final print.
Why try it: It offers a richly detailed, tactile texture and a sepia-toned image with a very specific historical connection to photography, specifically film development.
How to do it: Coat a paper with a mixture of silver nitrate and salt, expose the sensitized paper under a negative using sunlight, and then fix with a strong salt solution.
©Nejc Urankar
Urine Developer
What it is: Maybe you’ve heard of this before and as bizarre as it sounds, some photographers have tried human urine as a film developer. Human urine contains urea, which breaks down into ammonia over time. Ammonia can act as an alkaline agent, influencing the reduction of silver halides in photographic film.
Why try it: Purely experimental and pretty daring. Working photographers who use this process for film developing often have a larger statement to make surrounding the body and its functions. I think of Andres Serrano, the photographer who made his fame by submerging a crucifix in urine and photographing it. This may sound grotesque at first glance, but fine art often takes turns into the unconventional. Using urine is a statement in itself, challenging norms and exploring the intersection of the biological and artistic.
How to do it: Use fresh urine as a substitute for the film developer. The pH and chemical composition can affect the outcome.

Piss Christ ©Andres Serrano
Read about Andres Serrano’s provocative piece here.
Flower Petal Toning
What it is: Flower petal toning involves using the natural pigments and dyes extracted from flower petals to change or influence the tones of a photographic print. It’s often used with alternative photographic processes, such as cyanotypes, to transform the original hue to a different shade or tint.
Why try it: As with any organic film development process, each flower and extraction method can yield slightly different results, ensuring that no two prints are identical. Using natural elements reduces the need for chemical toners, making the process more environmentally conscious. The gentle and organic shades obtained from petals can provide prints with a warmth and character distinct from chemical toners.
How to do it: Collect fresh petals from your chosen flower. Roses, hibiscus, and marigolds are popular choices due to their vibrant colors. Crush the petals in a mortar and pestle or blend them to release their juices. Add the crushed petals to boiling water and let them simmer for an hour to extract the dye. Strain the liquid to remove any solid fragments, leaving a clear dye. After development, immerse the print in the flower dye bath.

Anthotype ©Tim Boddy
Solarization or Sabattier Effect
What it is: This is a unique photographic development process that reverses certain tones within a photograph, resulting in a melding of highlights and shadows. The result is a dreamlike, ethereal image that stands apart from typical photographic renditions, evoking a sense of otherworldliness. Partially developed film or paper is exposed to light for a short duration and then redeveloped.
Why try it: Produces eerie, surreal images with a reversed tonality. Popularized in the 20th century by artists like Man Ray and Lee Miller, they embraced the technique for its avant-garde and surreal outcomes, making it an integral part of their creative expression.
How to do it: During the film development process, briefly expose the print or film to an additional light source. This can be done by turning on the room light for a short duration or using a flashlight. After re-exposure, continue with the development, stop, and fix stages as you typically would.
Solarized print ©Nejc Urankar