How to Shoot your Disposable Camera
Disposable cameras are a popular choice for capturing memories on-the-go, without the hassle of lugging around a bulky camera or worrying about technical settings. They're easy to use, and their affordability and convenience makes them a great option for casual photography.
One of the main advantages of using a disposable camera is that they're simple and straightforward. With a fixed-focus lens and limited aperture range, you don't need to worry about adjusting any settings - just point and shoot. This makes them a great option for taking snapshots of everyday moments, like a day at the beach, a night at the bar, or on vacation with friends.
Another advantage is their affordability. Disposable cameras are generally much cheaper than other types of cameras, which makes them a great option for those on a budget or for special occasions where you don't want to risk damaging an expensive camera.
However, there are also some downsides to shooting with a disposable camera. One of the main disadvantages is the limited control over settings. With a fixed-focus lens and limited aperture range, you may not be able to capture the exact shot you want, especially if you're in challenging lighting conditions or want to experiment with different creative effects in a predicable and controlled way.
Disposable cameras usually have a fixed-focus lens, which means that the lens is set to focus at a specific distance and depth of field. The aperture and focus range on disposable cameras vary depending on the manufacturer and model, but they are generally designed to be easy to use without requiring any manual adjustments. The aperture, which controls how much light enters the camera, is usually fixed and set at a value that is appropriate for general outdoor and indoor lighting conditions. In most cases disposables have a focal length of about 30mm with an aperture around f/10 with some cameras having an additional "cloudy" or "indoor" setting that opens up the aperture to allow more light in. The lenses on disposable cameras are made of plastic that can be warped by temperature changes, moisture, and remain more vulnerable to basic aberrations like surface scratches than lenses made of glass. Remember that these plastics are optimized for quick and painless production at low costs, meaning they usually don’t hold up in terms of quality.
As for the focus range, disposable cameras generally have a wide-angle lens with a fixed focus distance that's set at around 4 feet to 10 or 11 feet. This means that objects within that range will be in focus, while objects closer or further away may appear blurry or out of focus. Some newer disposable cameras may have a closer focus range or even a zoom lens, but these are less common.
Due to these limitations, it is extremely common to have a roll through a disposable come out underexposed, damaged, or even completely blank. It’s important to manage expectations when shooting disposables, but there are some clear do/do nots that will help you to get better images.
Lets first take a look at a few common mistakes we see on disposables, starting with flash
When to use your Flash
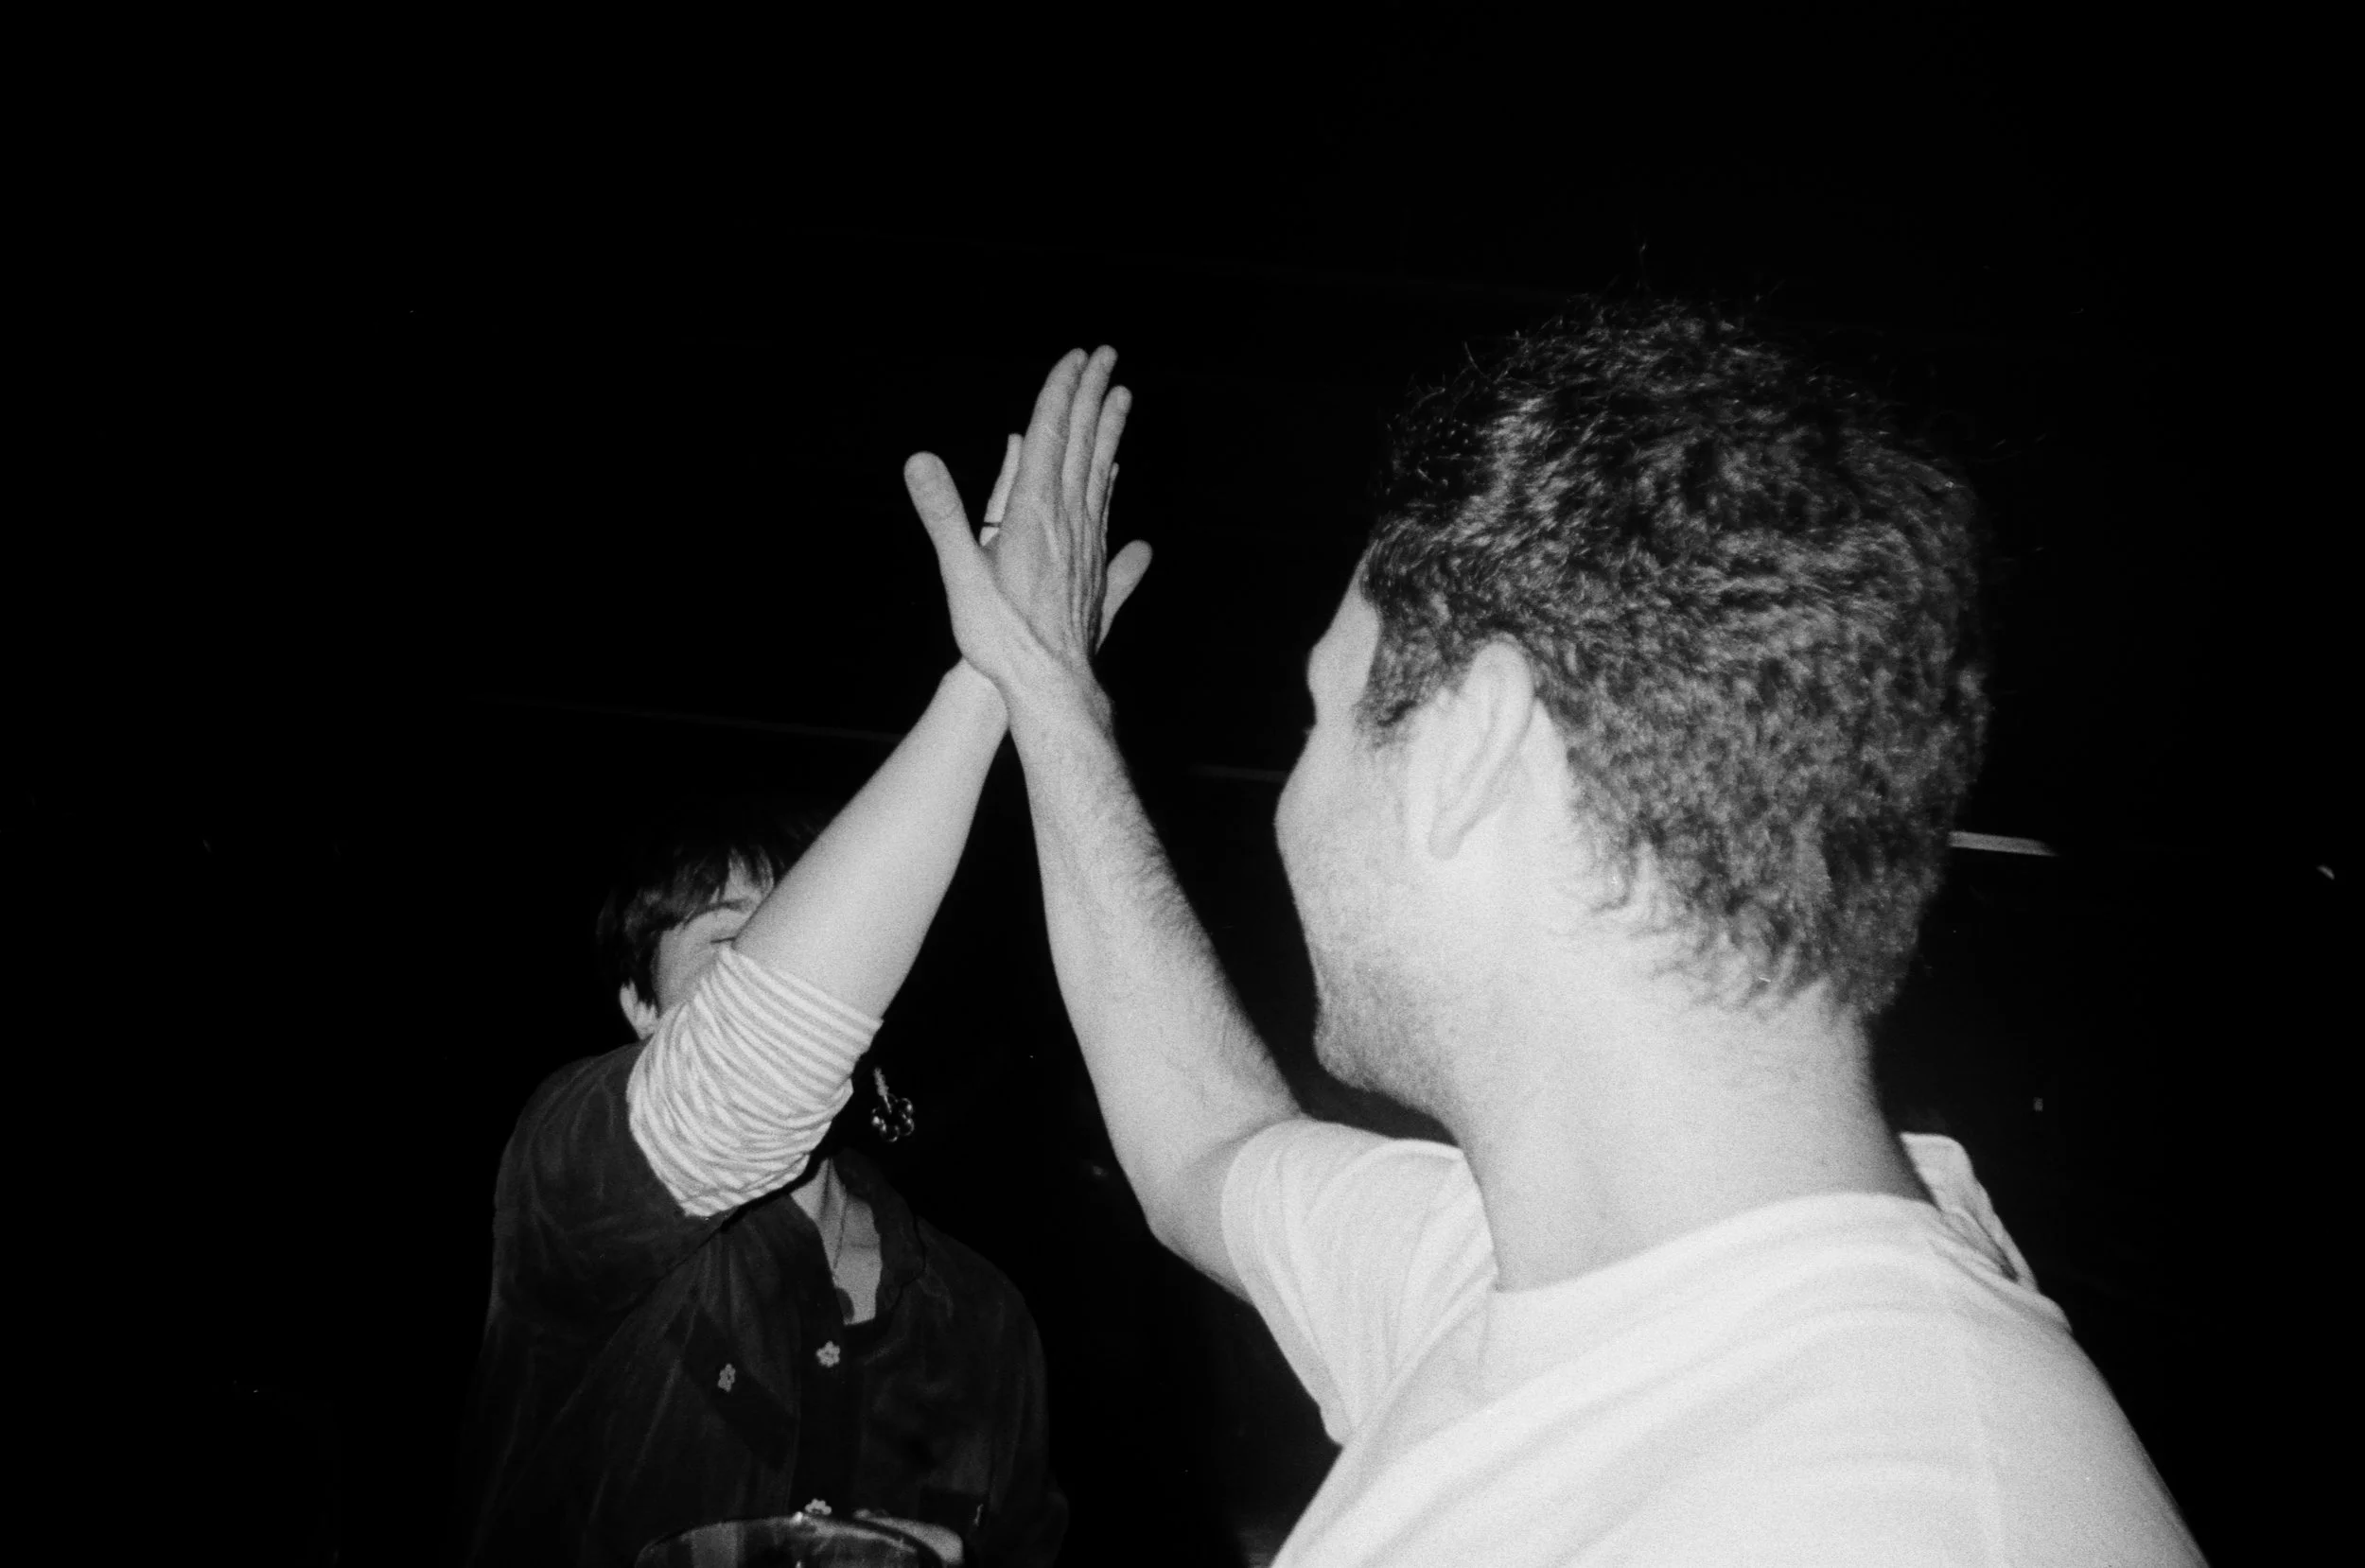
This is a photo where no flashed was used. Here you see the subject within range in a typical composition but because the flash wasn’t used you’re left with a grainy, noticeably low quality image. Although lots of people use disposables for this exact effect, you’re loosing detail in the subject’s face and in the surrounding environment that if there, would positively serve your image. It’s worth noting that in this photo there is actually visible natural light flooding through the right side of the frame. When in doubt always use flash. Although you may think there is enough light to properly expose the image, more often than not it is still too dark to get a proper exposure.
Lets take a look at an image with the same subject and very similar lighting conditions where flash was used
Here you see the photographer has moved about 5-6 feet away from the subject and used flash to capture the photo in a relatively dark space. By getting closer and using flash there is a clear difference in detail of the subject’s face and the environment around him. It’s worth noting that in doing this you aren’t losing the gritty nostalgic feel that many disposable camera shooters are going for, you’re simply insuring that you have a clear, usable image.
Here is a photo where flash was used in extremely bright sunny conditions. Although you want to be careful to not blow your subject out, this is a great example of how flash is just an all around safe bet to come out with photos you’re happy with.
One common mistake we often see with flash is this:
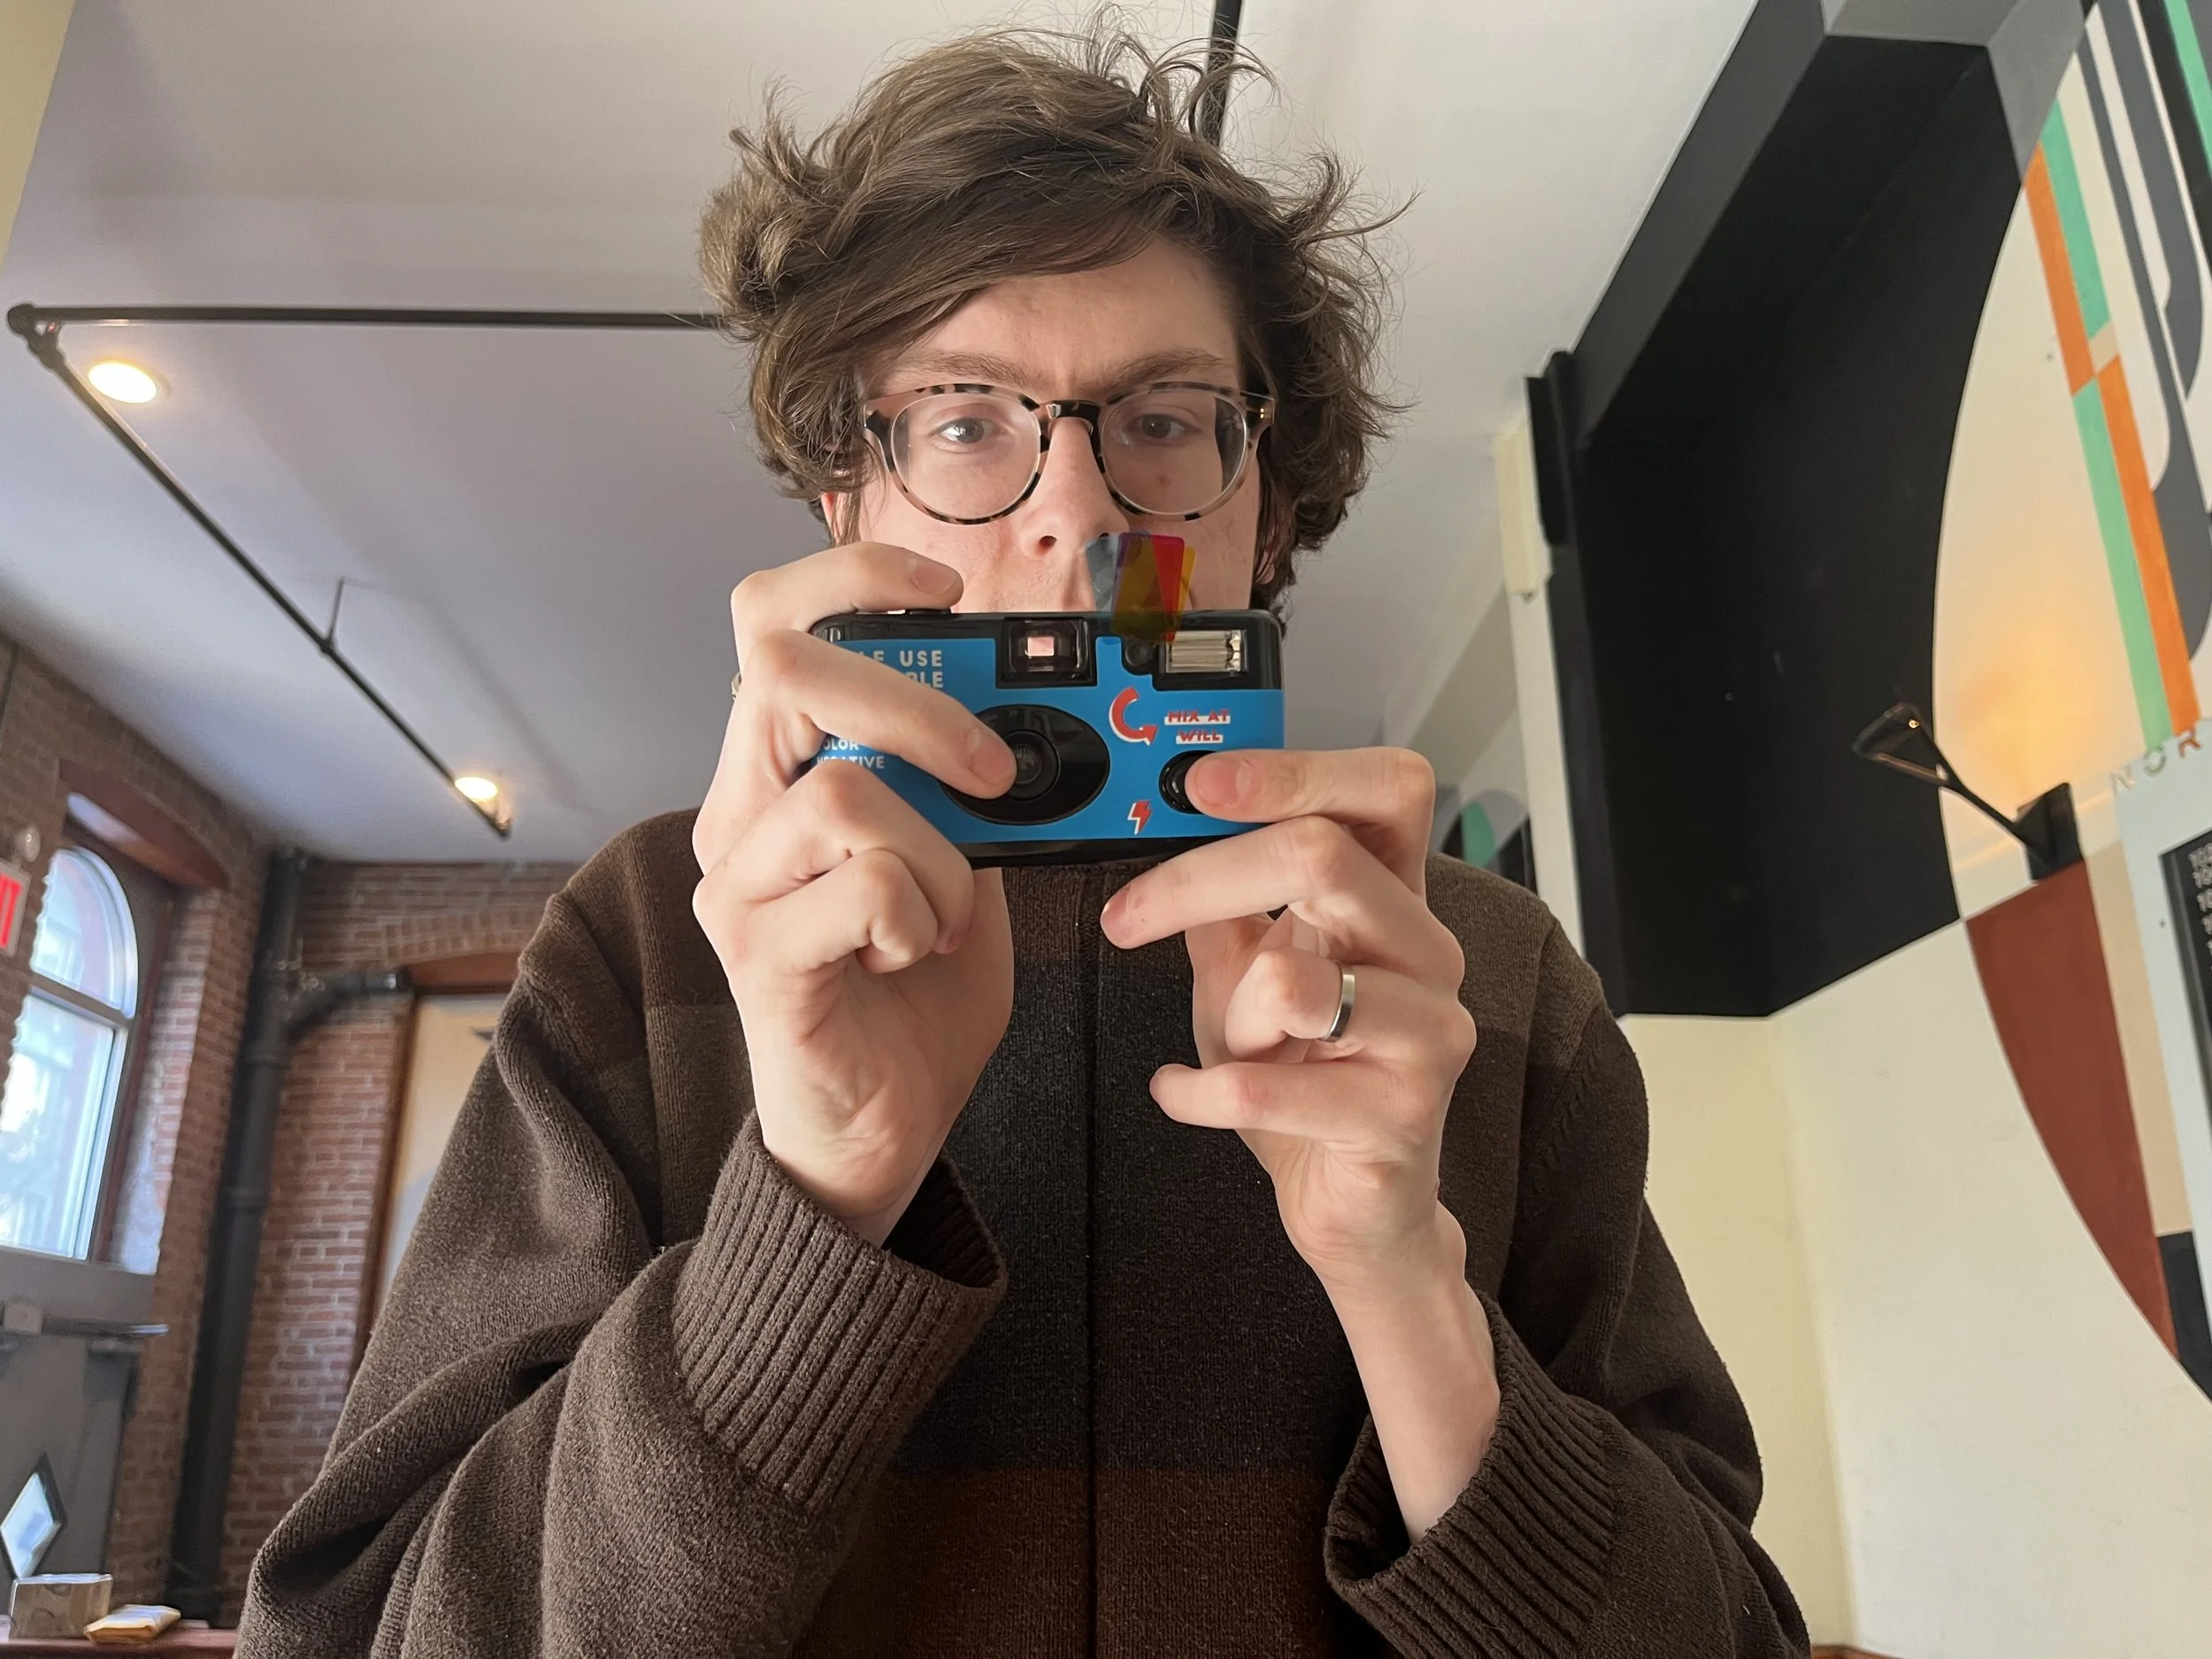
When you take a picture of yourself or a group of friends in a mirror, the flash will bounce off the reflective surface and can obscure all the subjects in your photo. With mirror pictures on disposable cameras, it’s best to take them without a flash in a very well lit space.
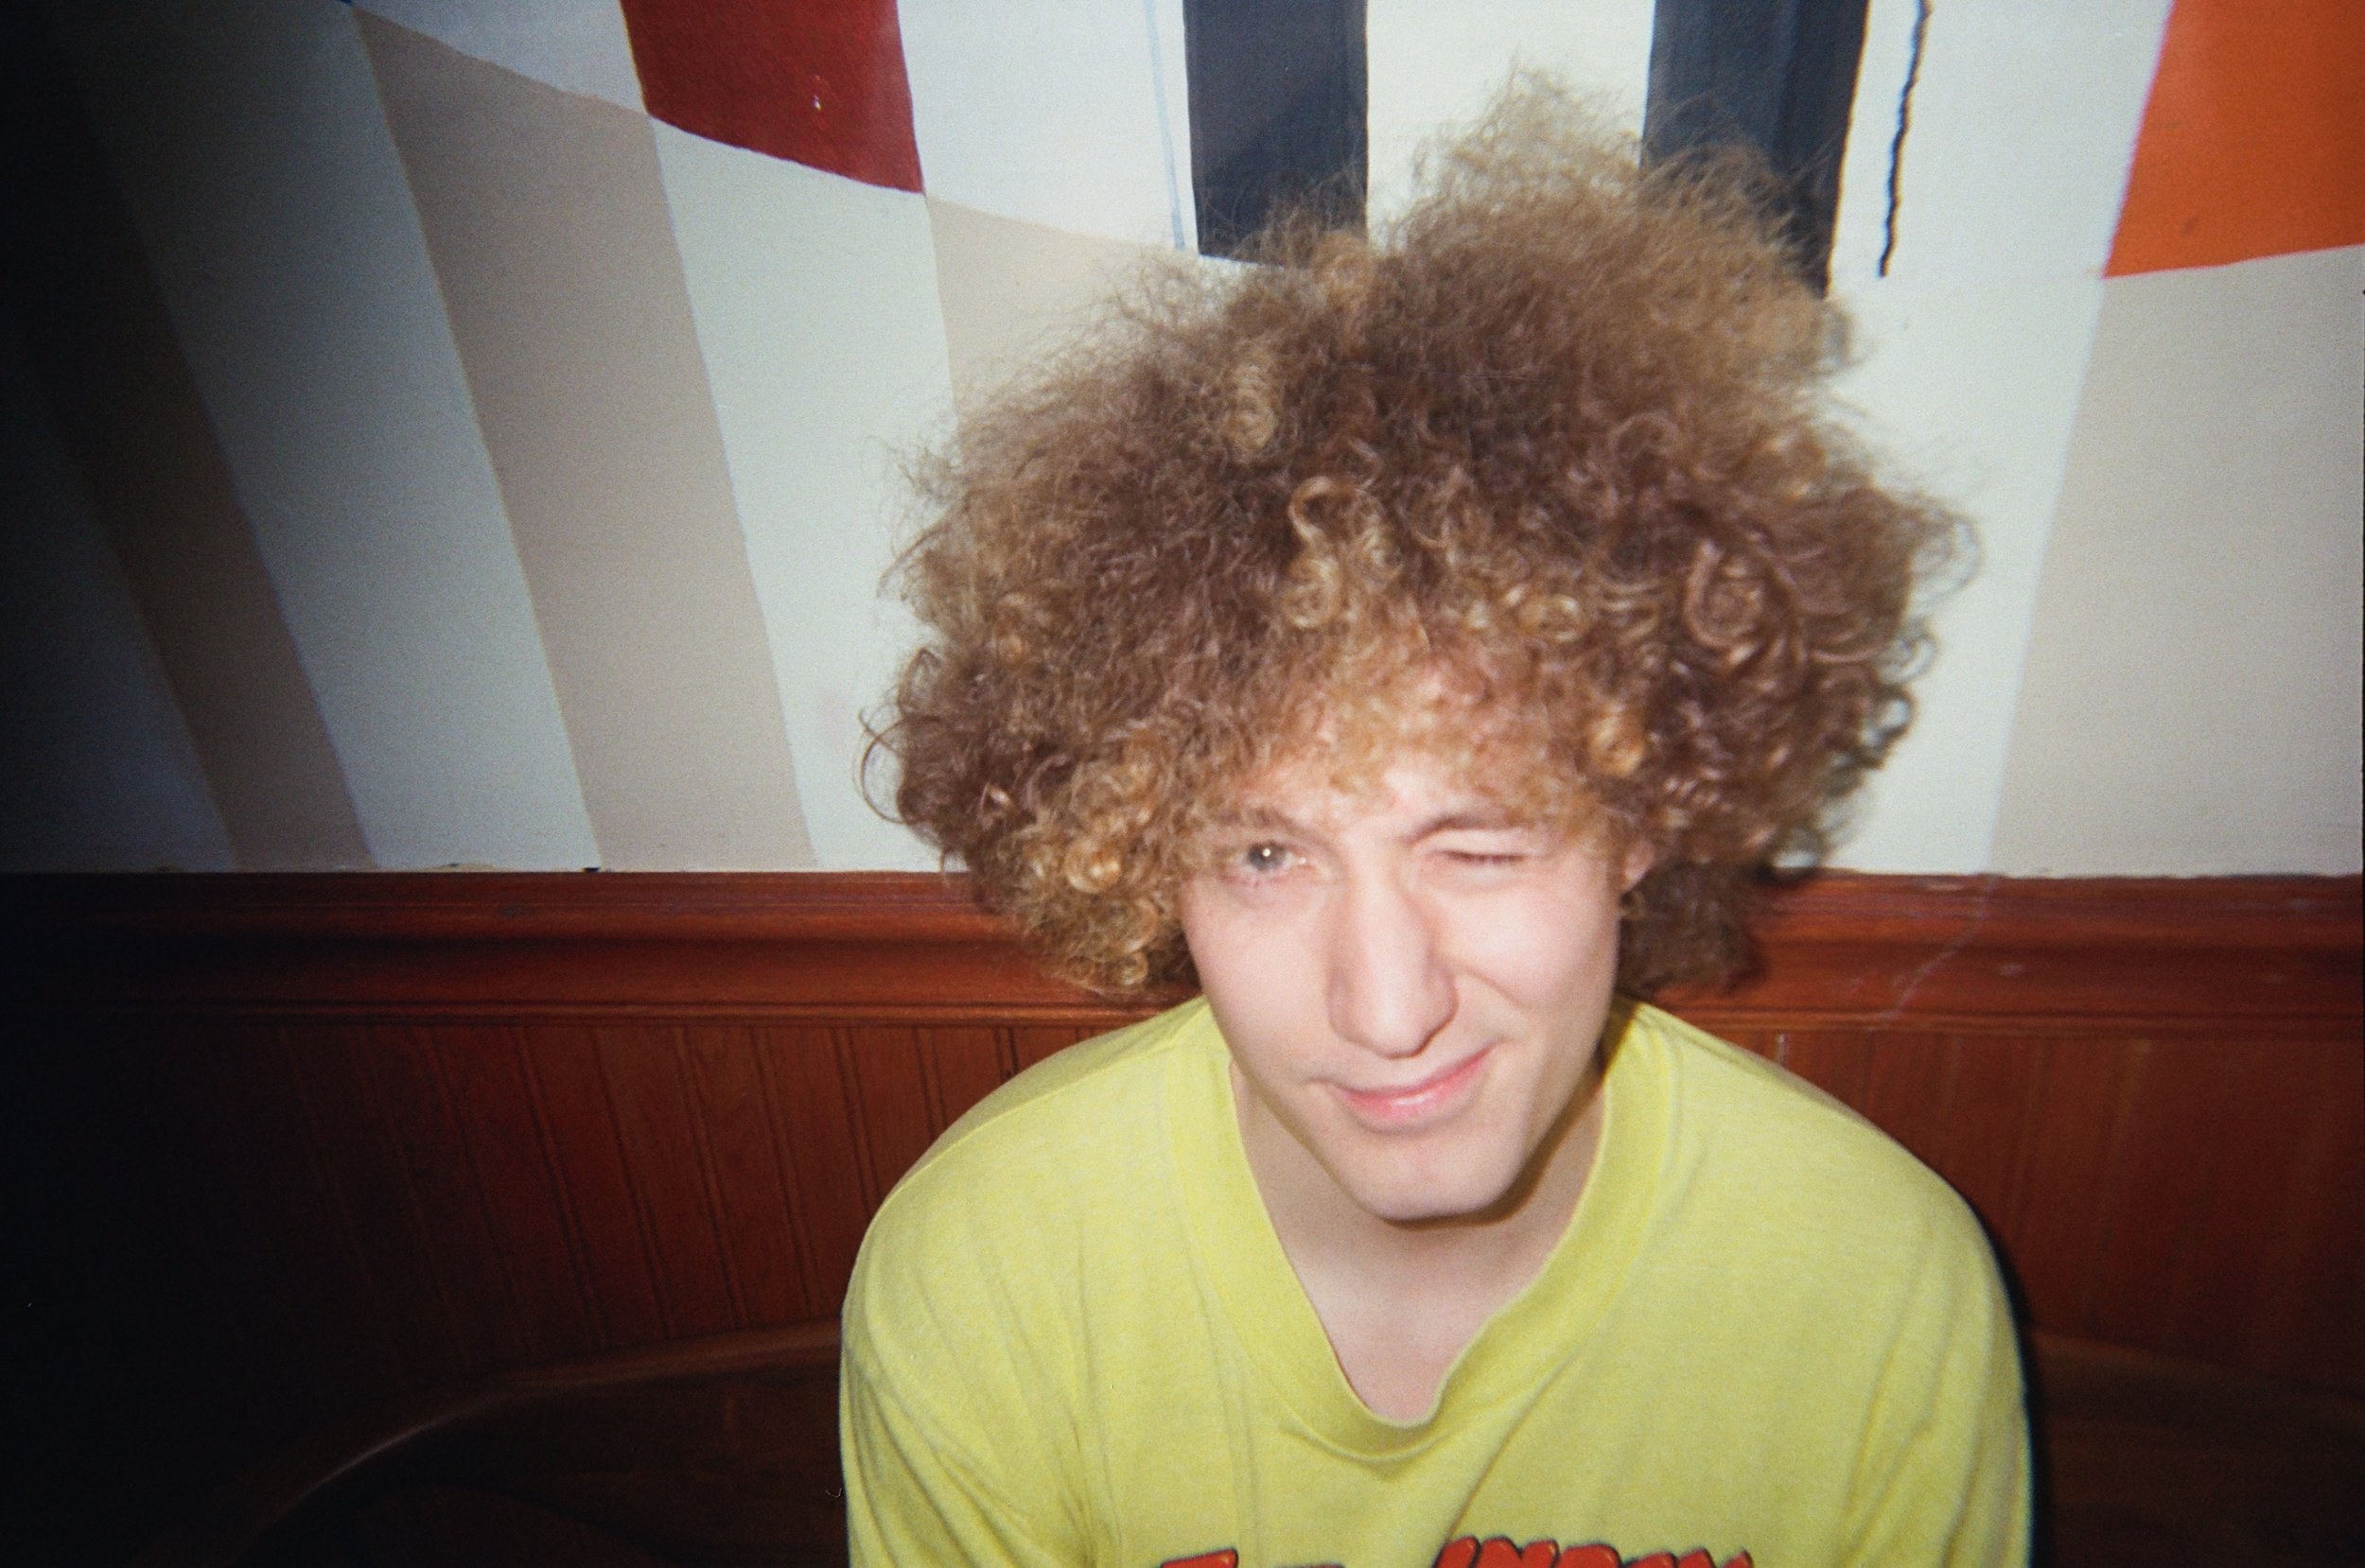
With close up photos like the one above, another mistake is getting too close. Again, disposable cameras have a fixed focus distance that's set at around 4 feet to 10 feet. 10 feet remains the optimal long distance, while technically speaking disposable cameras focus to infinity. This means if you shoot further than 10 feet there will be some distortion but chances are it won’t ruin your picture. However if you get too close, the soft focus is much more noticeable like in the photo below:
Here we see the subject shot from about 1 or 2 feet away with his eye clearly out of focus. Some people don’t mind the soft focused vignetted look but it is something that’s good to be aware of.
Common Problems
Backlighting
A kind of photo we see at the lab all the time is a subject being backlit.
Being backlit in a photo means that the main source of light is behind the subject, rather than in front of them. This can create a dramatic effect, with the subject appearing as a silhouette or with halo-like highlights around their edges. However, it can also make it difficult to capture detail in the subject's face or other details that are not illuminated by the back light, like in the photo above. In general, it's best to avoid shooting directly into bright sources of light, including the sun or other strong light sources, as this can cause back lighting and other issues with exposure and contrast.
Fingers Over the Lens
This may sound like a no brainer but with the compact nature of a disposable camera, accidentally putting your finger over the lens is an extremely common mistake. Before taking a photo be aware of where your hands are on the camera to insure your photo isn’t obscured by a misplaced finger.
Sourcing and Storage
Sourcing and storage play a huge factor in the quality of disposable photos. If you’re shooting on vacation it’s essential to keep your camera out of extreme heat and/or moisture as these conditions can drastically alter the film. Make sure cameras are not left in hot cars, hot bags, or exposed to the elements typical of tropical climates to have the best results. When it comes to sourcing it can be tempting to do things like bulk buy disposables on eBay or pick up a disposable from a yard sale. Although these are great solutions for buying manual cameras, because every disposable already has cheap film inside the camera, second hand or old disposable cameras are usually expired. You don’t want to be stuck shooting film that will be blank or unusable from the get go, regardless of how you shoot.
Where to Buy Disposable Cameras?
With all these factors in mind here are some disposable cameras we recommend:
Features:
27 Exposures
Built in Flash
Requires 1 AA battery
Film used: Kodak 800 ISO color film (good for low light)
Single use
llford Hp5 Plus Disposable Camera
Features:
27 Exposures
Built in Flash
Requires 1 LR44 battery
Film Used: HP5 Plus 400 ISO (black and white)
Single Use
Lomography Simple Use Reloadable Film Camera Color Negative
Features:
36 exposures
Built in flash
Battery included
Film Used: Lomography Color Negative ISO 400 film
Reusable
Comes with yellow, blue, and purple gels
Ad ons: underwater casing
Where to Develop Disposable Cameras?
We develop disposable cameras every day in house at Nice. If you are unsure what kind of film is in the disposable camera you’re dropping off, simply select one of our “Some Disposable Camera” options from the roll dropdown menu
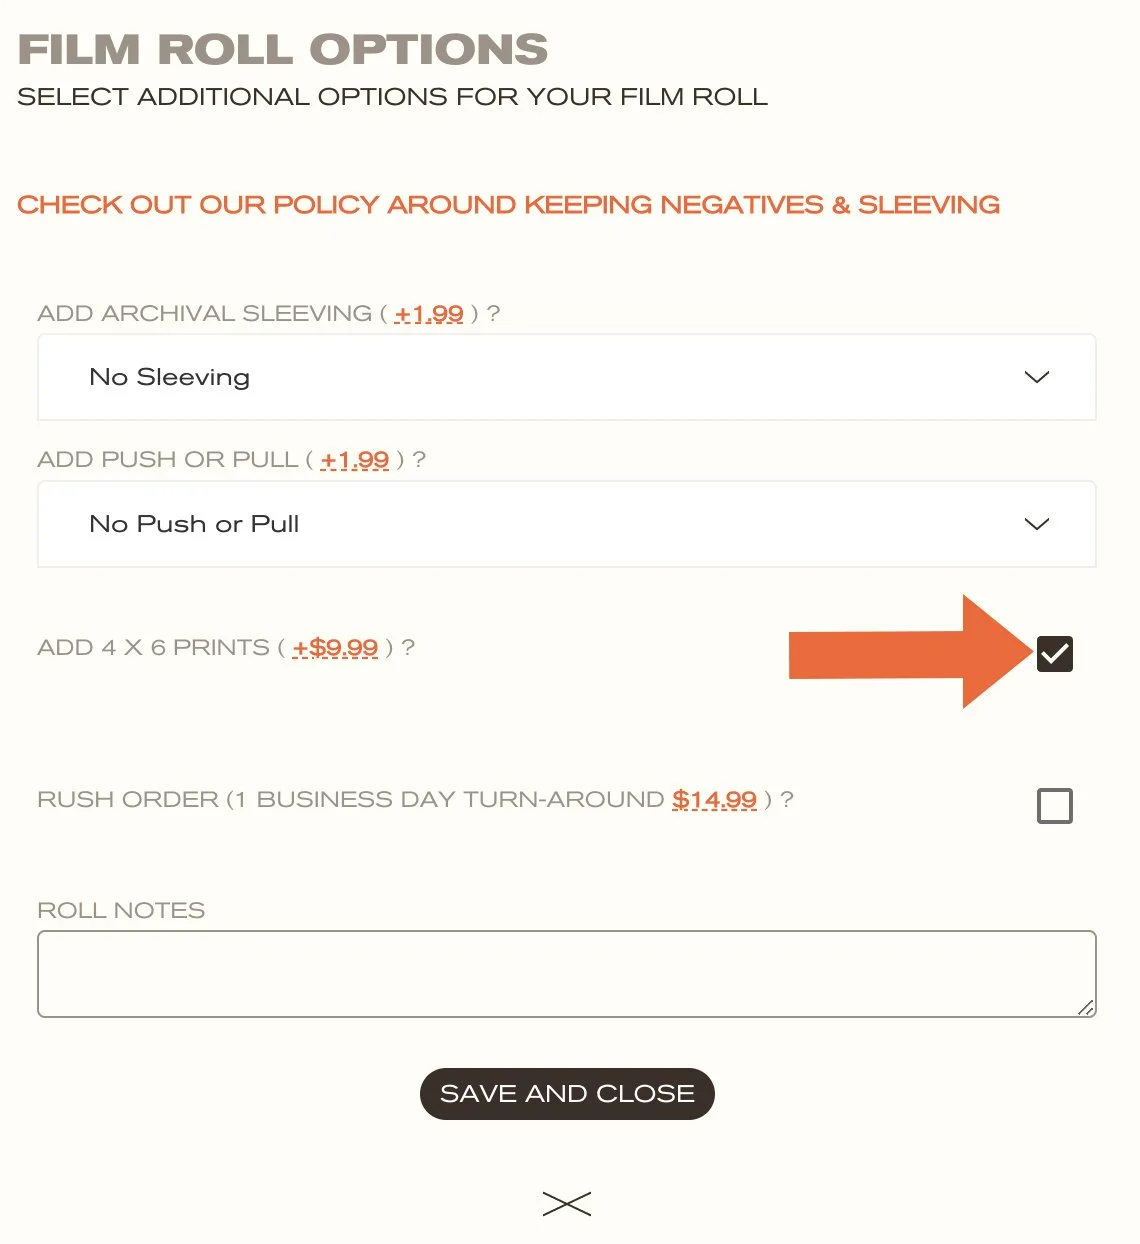
Additionally, when you make your order be sure to check out our 4x6 services to turn your entire disposable roll to prints at our member price of $9.99

