Pushing and Pulling Film
If you’re new to analog, you might be curious about push and pull processing when you develop film. What is it and why is it done? There are many guides on pushing and pulling film out there, but new photographers are often bogged down by the technical jargon and stay away from the process altogether. The truth is, once you understand a few key terms and concepts pushing and pulling is very straightforward and extremely useful in a variety of shooting situations. Here is a quick, easy-to-follow guide on how to push and pull your film.
A common story we hear that requires push and pull processing goes something like this:
You’re out shooting a roll of Portra 400 and it isn’t until you roll your film up that you realize your camera’s ISO was actually set at 800. What can you do?
If you’re reading this and are facing a similar problem check out our push/pull calculator here. Simply enter what speed you should have shot your film at and the speed you did shoot at and we’ll tell you what to do.
If you’re interested in the details of pushing and pulling, continue on. Let’s start with a few key terms.
ISO
In order to understand pushing you have to understand what ISO means. ISO is the measure of film’s sensitivity to light. The slower the film the less sensitive it is to light while the faster the film the more sensitive. This means that the lower the ISO (a low number would be something like 100 or 200) the better it functions with a brighter, well-lit scene. The higher the ISO, (a value like 800 or 1600) the better it’s suited for a low-light scenario. If this is the case why wouldn’t you just always shoot a film with a high ISO to make sure you never have to worry about light? Well, films with high ISO produce a lot more noise in an image, colloquially referred to as grain, and inherent in this grain is far less image detail.
Box Speed
The next thing you want to understand is what’s referred to as a film’s “box speed.” This is the ISO recommended by the manufacturer to have the best possible results for the film you're using. For example, on a stock like Portra 400 the 400 refers to the box speed i.e. the ISO you should use. This information is usually built into the roll name, on the packaging, or extremely easy to find online. Although this speed is recommended, not every situation provides enough light to shoot at the film’s box speed. That’s where pushing comes into play.
Example
Let's imagine you’re shooting a roll of Portra 400 and the light slowly begins to fade. You adjust your aperture to allow for more light but it’s still too dark to get the shot you need. You slow your shutter speed but you’re worried about getting motion blur. This is where pushing comes in. We measure ISO in stops. Moving up or down a full stop is doubling or halving your ISO. You can push your ISO one stop, in this case to 800 to compensate for the lack of light. This means your camera thinks you are using an 800-speed film and will meter accordingly. Remember the higher ISO the less light you need, this is why you would go up in speed and not down. Also, keep in mind that every time you go up a stop you are telling your camera to underexpose and every time you go down you are telling your camera to overexpose. After you finish the portra 400 roll at its new speed of 800 the process ends for you and starts for the lab. Indicate to the lab that you have pushed your film at drop off and the rest is on us.
What happens in film developing?
Once we get the roll for film developing, we change the speed on our machine to compensate for the speed you shot the film at. The more a roll is pushed, the longer the film sits in the developer to compensate for the underexposure. The more it’s pulled the quicker it moves through. This film developing practice is standard across every lab but often works around demand. At Nice, we push and pull rolls every single day. You might find that other labs where you’d develop film hold onto any push or pull films they receive until they’ve determined the amount received is enough to change the development time on their respective machines. This is why many other film developing labs have slower turnaround times if you include push rolls in your order.
What does pushing and pulling do in film developing?
Color film pushed +1: Higher contrast, more grain, can bring back highlight detail, shadows more or less stay the same.

Fujifilm 400 pushed one stop - by Dylan Permuy
Color film pushed +2: Higher contrast, more grain, can bring back highlight detail, shadows more or less stay the same, more prone to color shifts, noticeably high saturation.

Lomography Color Negative 400 pushed two stops - by Dylan Permuy
Color film pull -1: Less contrast, flatter appearance, can bring out shadow detail, highlights more or less stay the same.

Kodak Gold 200 pulled one stop - by Weston B
Color film -2: Very flat, low-contrast images. Hardly ever done in development. If exposed properly this look can be achieved in scanning.

Kodak Portra 400 Pulled 2 Stops - by Gabe Ginsburg
Note: Not all color film is the same. In some films, features like grain, contrast, and color shifts will be highly exacerbated. In general, the cheaper the film, the worse it looks pushed/pulled. For this reason, we recommend pushing/pulling no more than 2 stops if able. Films stocks like Portra 400, 800, and CineStill 800t maintain great detail when pushed.
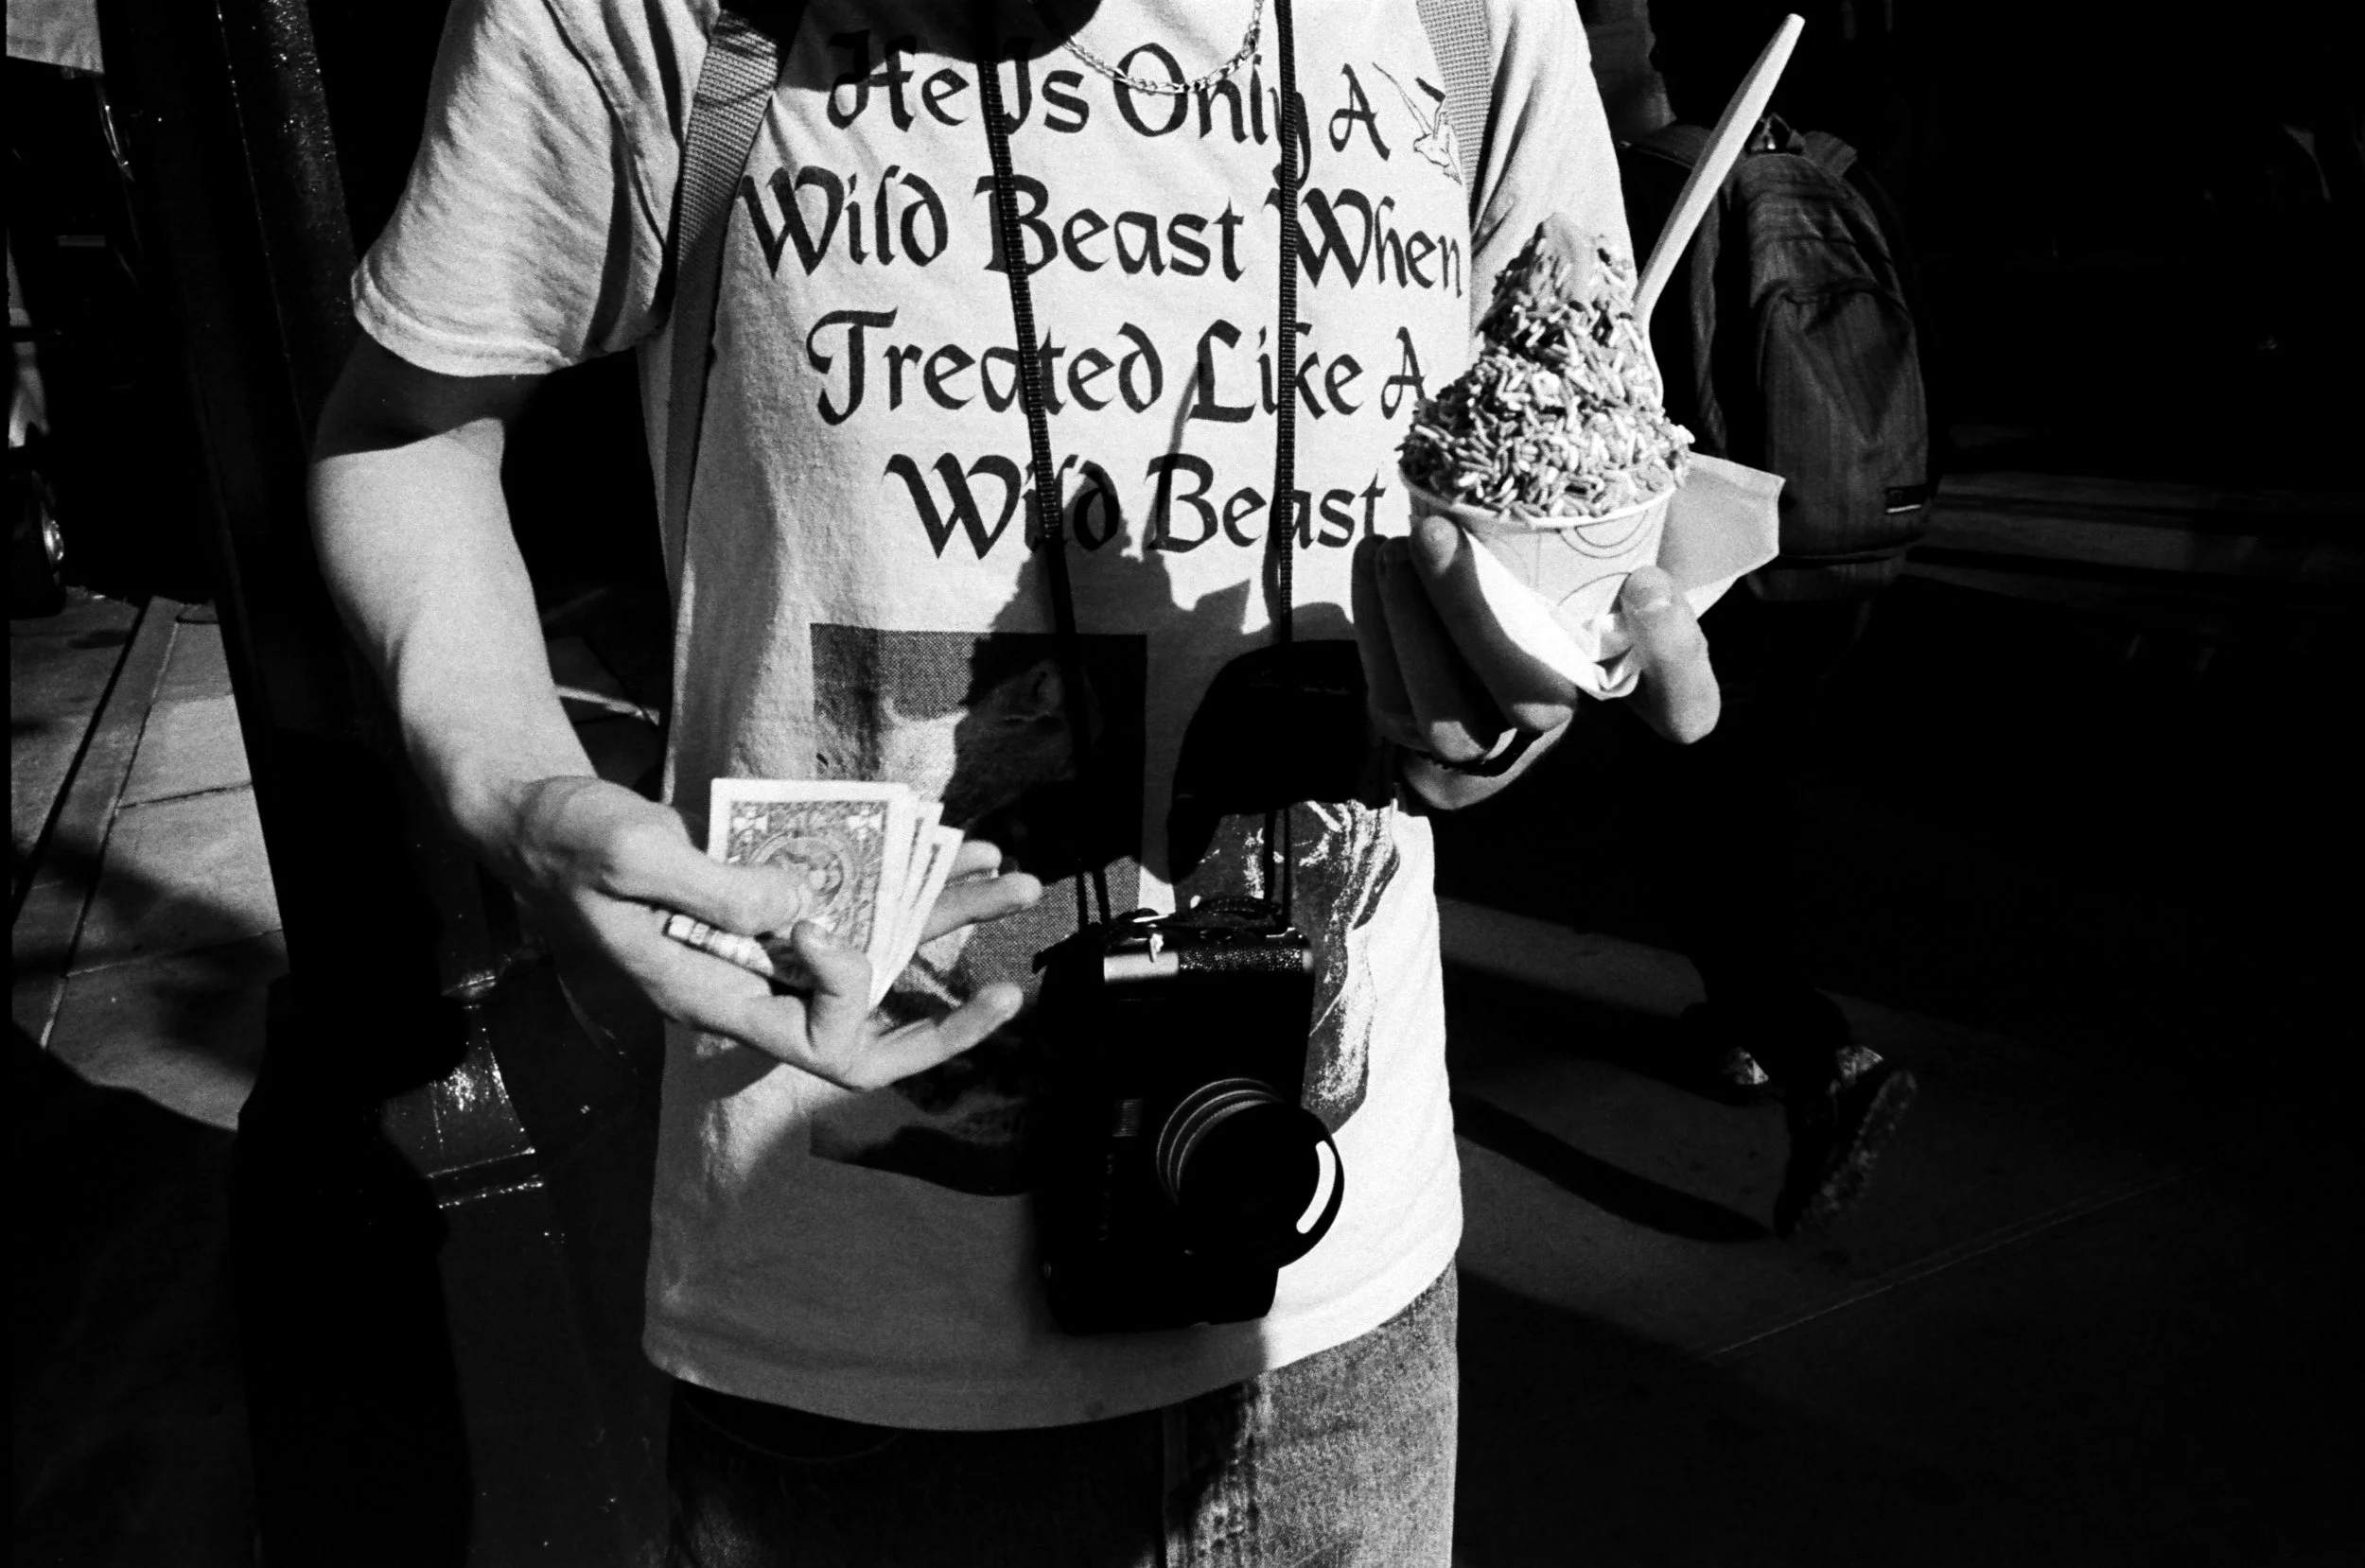
B&W film +1: more contrast, more grain, the blacks get blacker, whites get white, midtones more or less stay the same.

Kodak Tri-X 400 pushed one stop - by Gabe Ginsburg
B&W film +2: Very high contrast, extremely noticeable grain. This will give you what’s often described as a “gritty” look.
Kodak Tri-X 400 pushed 2 stops - by Gabe Ginsburg
B&W film -1: Less contrast, less grain, not a huge separation between the blacks and the whites of an image creating a more even grey look.
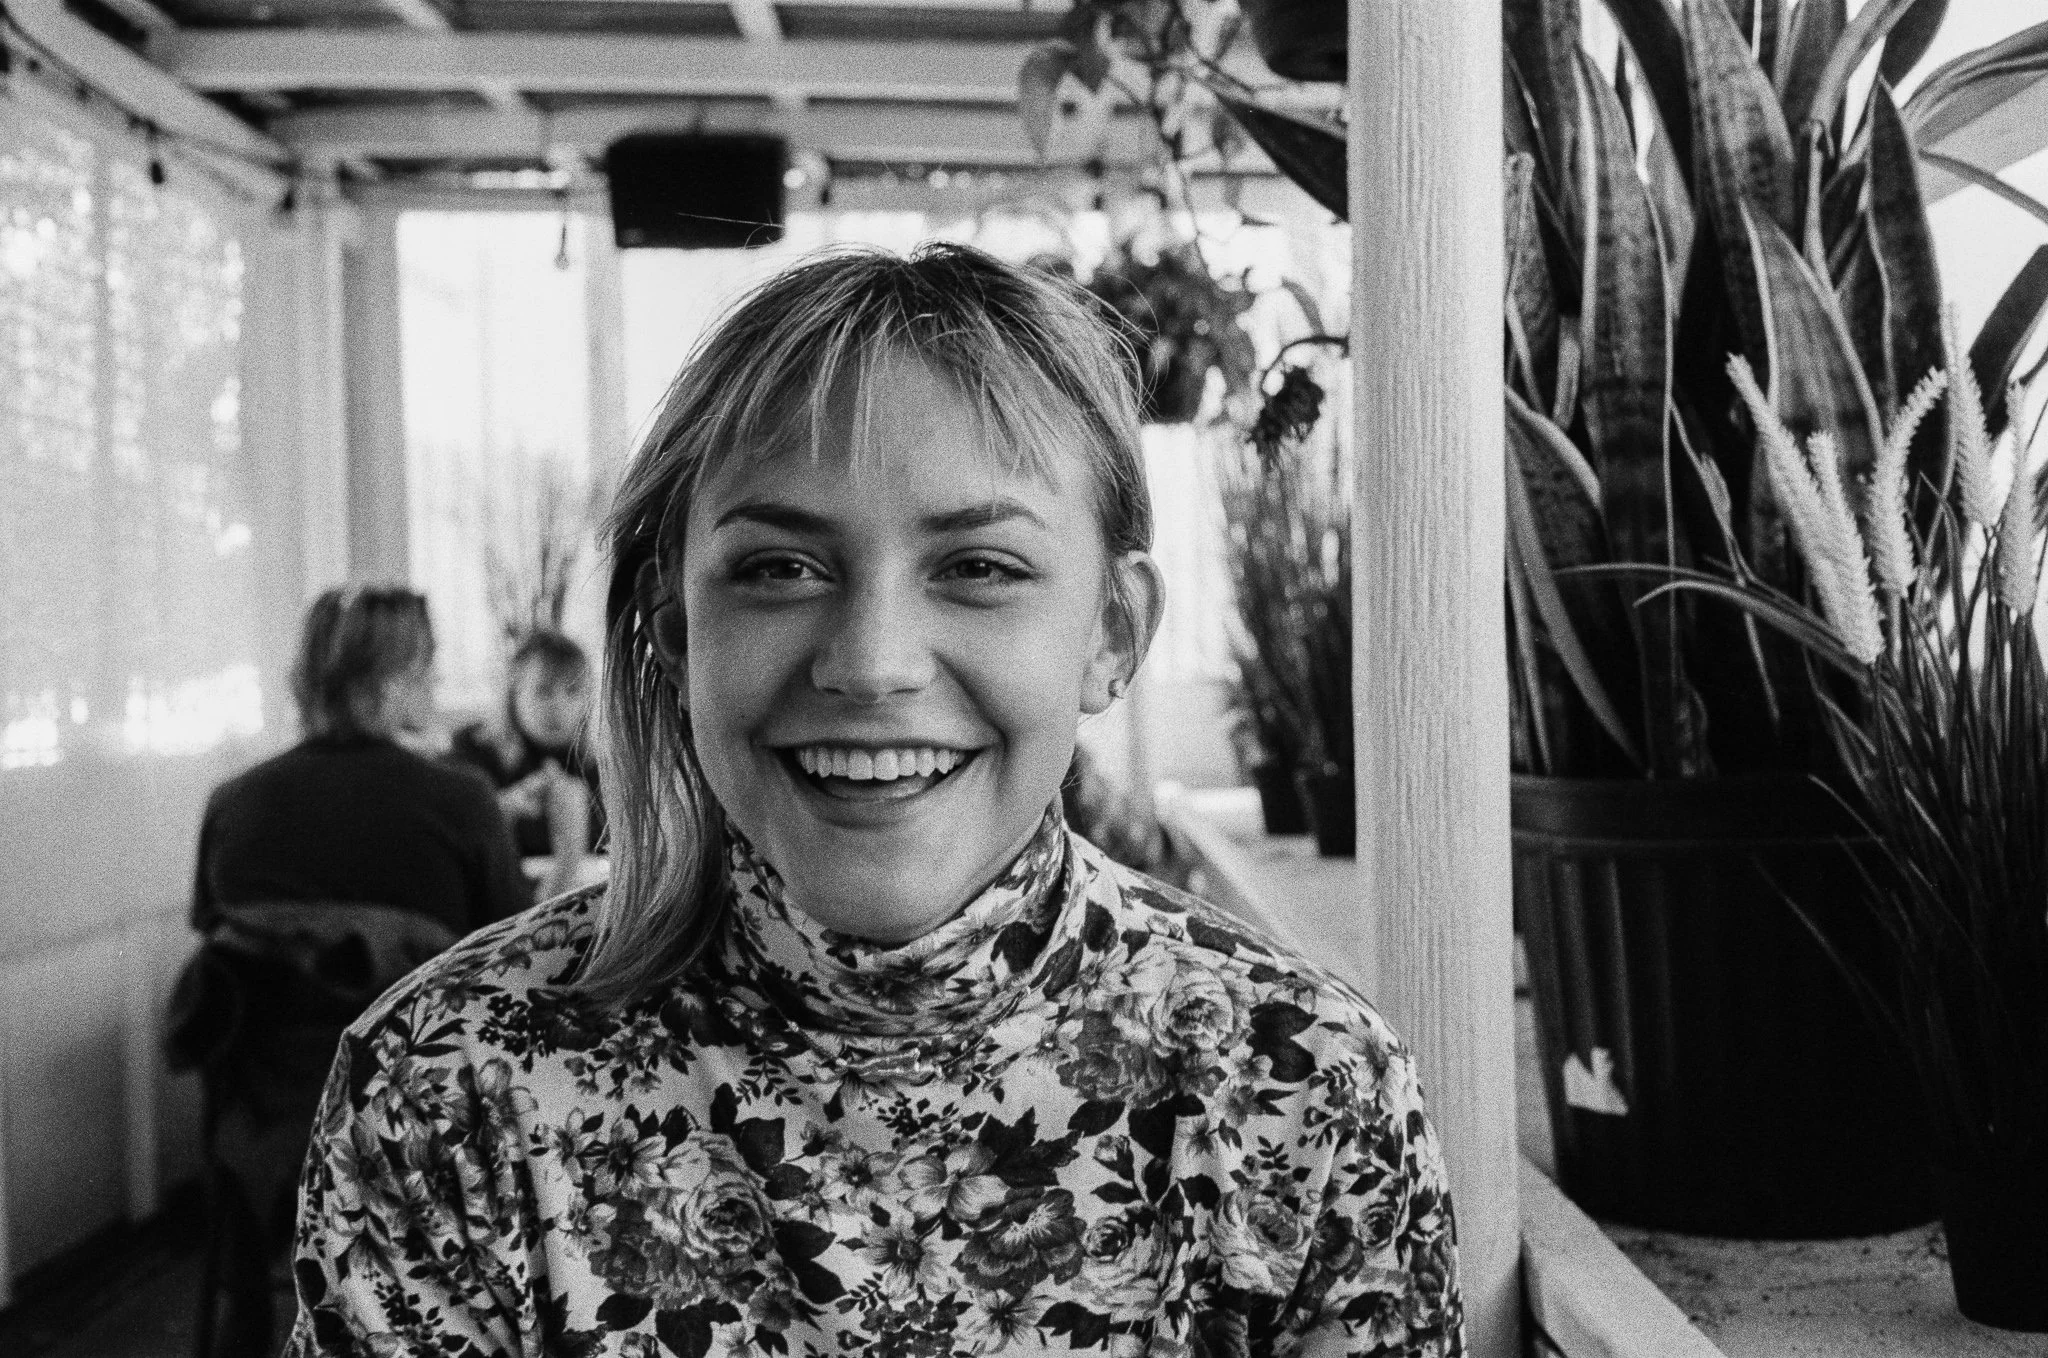
Kodak Tri-X 400 pulled one stop - by Gabe Ginsburg
B&W film -2: Very flat, very little grain, highlights and midtones will be very low, can be difficult to maintain any white or black point.
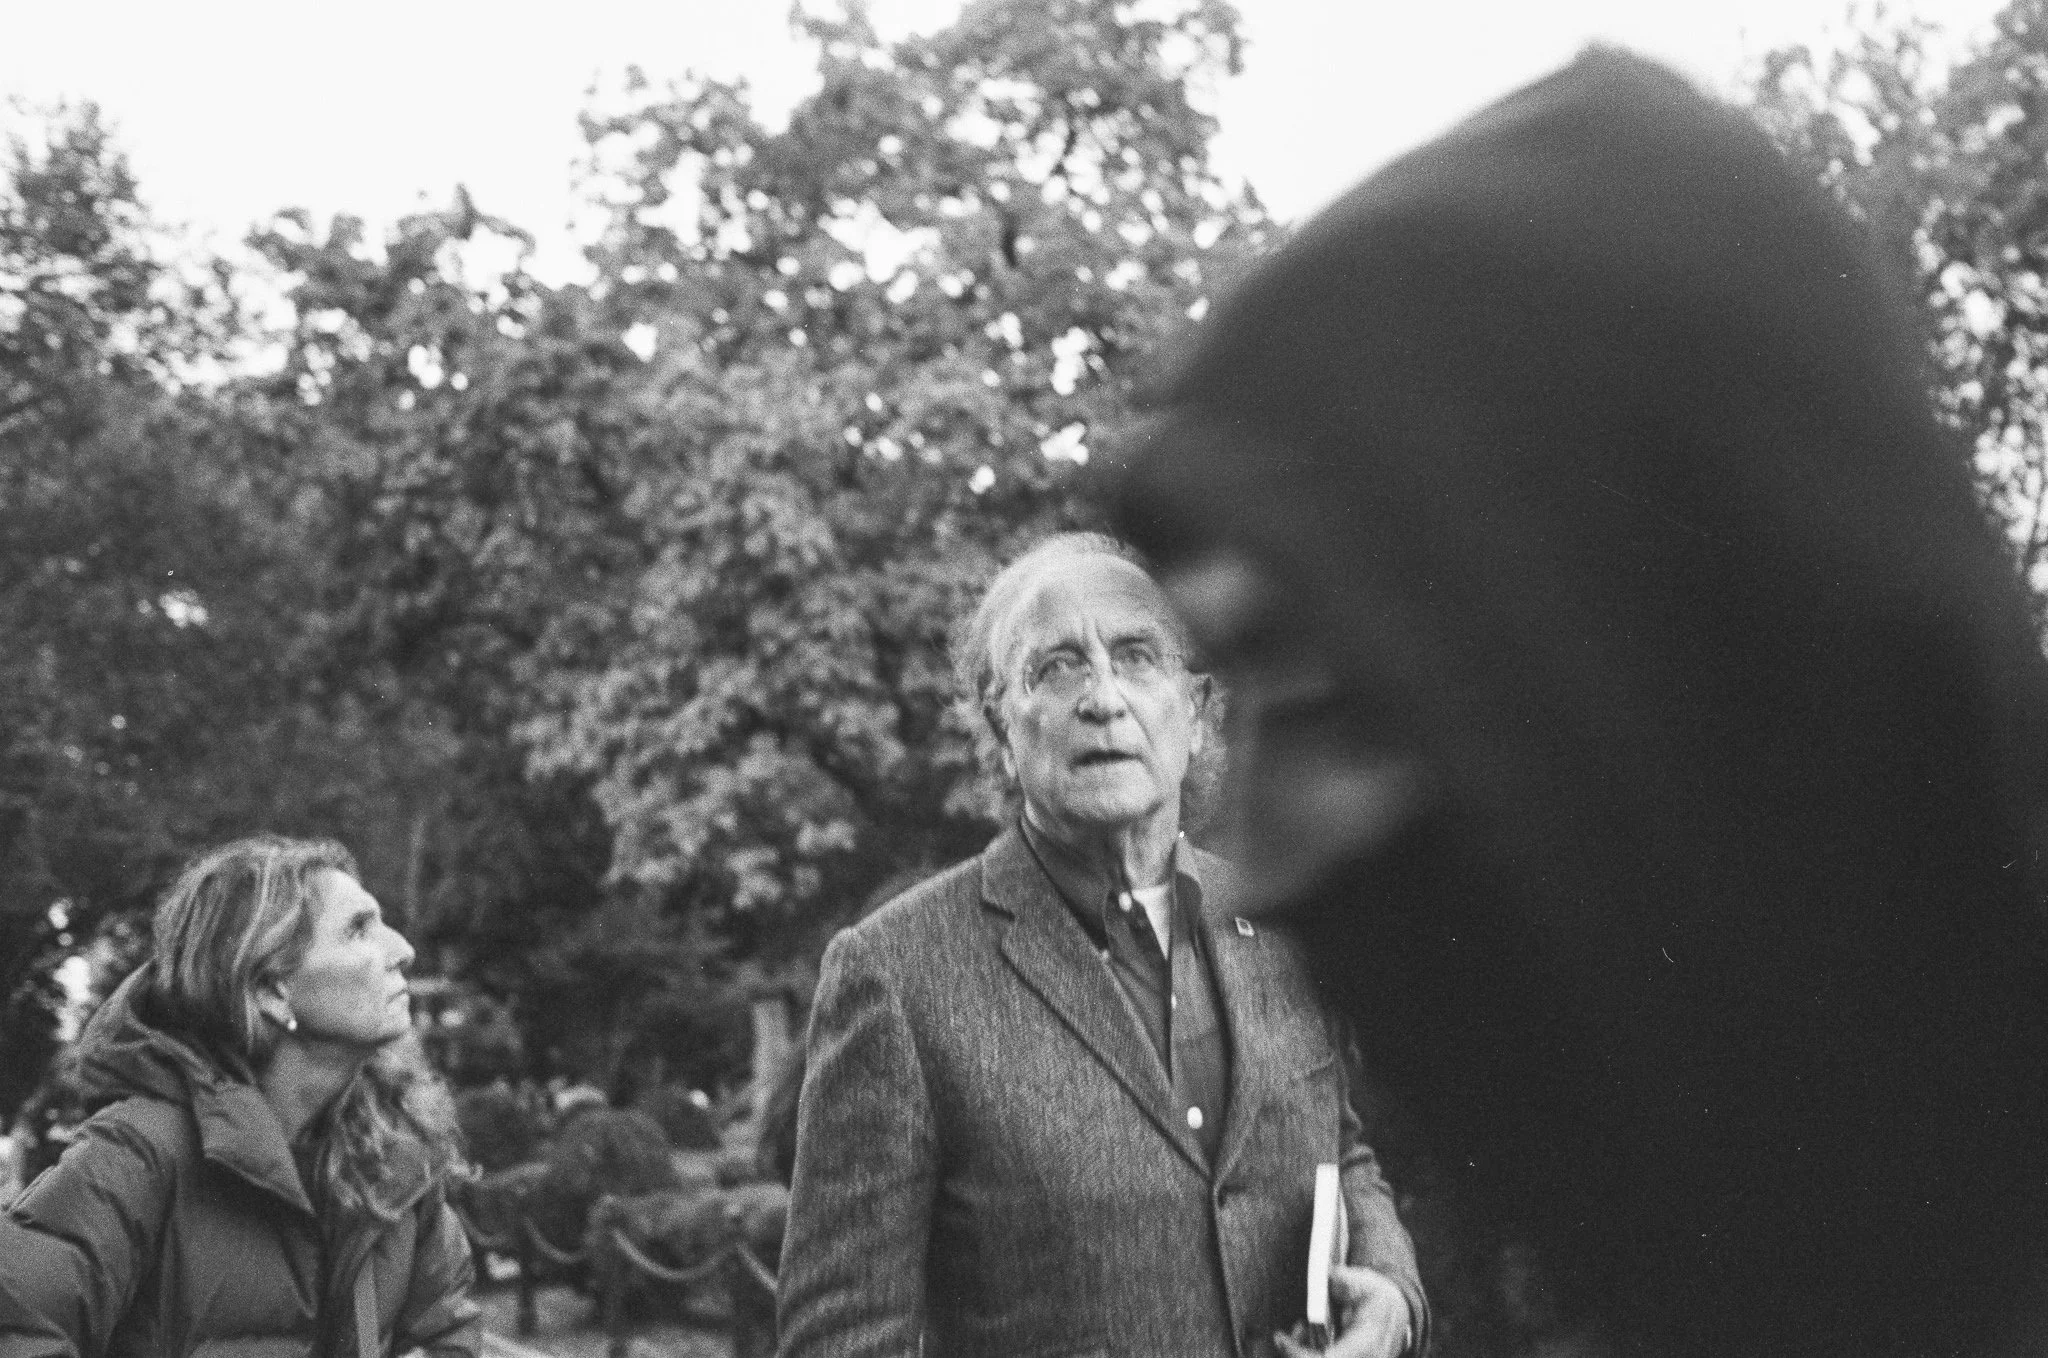
Tri-X 400 pulled two stops - by Gabe Ginsburg
Note: Black and white film as a rule is much more malleable and forgiving than color film when it comes to pushing and pulling. A heavily pushed film will give you a dramatic high contrast look that people often associate with a classic sense of black and white. Pulling will give you a softer, even tone that has its own dreamy feel. Pushing too much can create a very harsh light on skin tones that can be unflattering when shooting portraits. Pulling too much can eliminate valuable detail in both the highlights and the shadows making an image feel lifeless. The same rule for color exists for black and white. The more common or higher film price the better the results. Although using off-brand films might be cheaper you’ll have far less control over the final image. We recommend sticking to stocks like Tri-X or HP5 for consistent results.
When and Why to push film?
Expired film
As a rule of thumb color film should be rated down a stop for every decade it's expired. For example, if you’re shooting a roll of expired Kodak Gold 200 (iso 200) that’s been expired for twenty years you would set the ISO on your camera to 50. Black and white film stands the test of time slightly better, although this rule still applies. If you’re concerned with overexposure you can often get away with halving this equation and stopping down one stop for every 20 years the film was expired. Say for example Tri-X 400 had expired for 20 years, you would set the ISO to only 200.
The most common combination we see in the lab is photographers shooting expired film at the recommended box speed and then attempting to compensate solely in development by pushing one or two stops. Although slowing down the dev time can bring out some more visibility of your images it can also have the exact opposite effect. When an expired roll is pushed, the already highly visible grain detail is even more apparent and heavy fogging can occur. Both of these factors more often than not result in unusable images. The most important lesson in this is to garner the information you can and do your best at anticipating these problems at the shooting stage. Pushing may not always be the best option for your roll.
Low light
The most common practical reason for pushing film is simply a lack of light. If you’re not in a studio setting light can shift at the drop of a hat. If the light starts to fade you can keep pushing until your meter settings reflect the conditions you want to capture. Sometimes pushing can be the difference between a usable frame and a completely blank image.
Too much light
The inverse can be said for pulling. Maybe the light you shooting in is extremely harsh and you are metering for the highlights. If you don’t want any of the highlights blown out you can pull to preserve the detail in your image.
Darkroom prints
Pushing your black-and-white film is a very common technique to garner good results in the darkroom. Having a high contrast negative where the blacks and very black and the whites are very white makes an overall dense negative, making printing very straightforward. You can navigate around things like burning and dodging and switching out contrast filters by having enough information built into your negative. Pushing can save money and time by allowing you to reach your desired final result quickly with minimal tries. This is not to say you are compromising quality either. High contrast black and white film makes for an objectively appealing darkroom print.
Cultivating a look
The great thing about pushing and pulling is it doesn’t have to be a last-chance grab to get your photos to come out during film developing. If you expose properly lots of stocks can be pushed and pulled if you simply prefer the look to that of box speed. Pushing and pulling gives your photos a highly stylized look, especially if you are consistent. Lots of people prefer a high contrast color photo or a grainy black and white image for some variance and character. This process is a great way to figure out your own sensibilities and style when it comes to photos and can differentiate your work from that of other photographers.
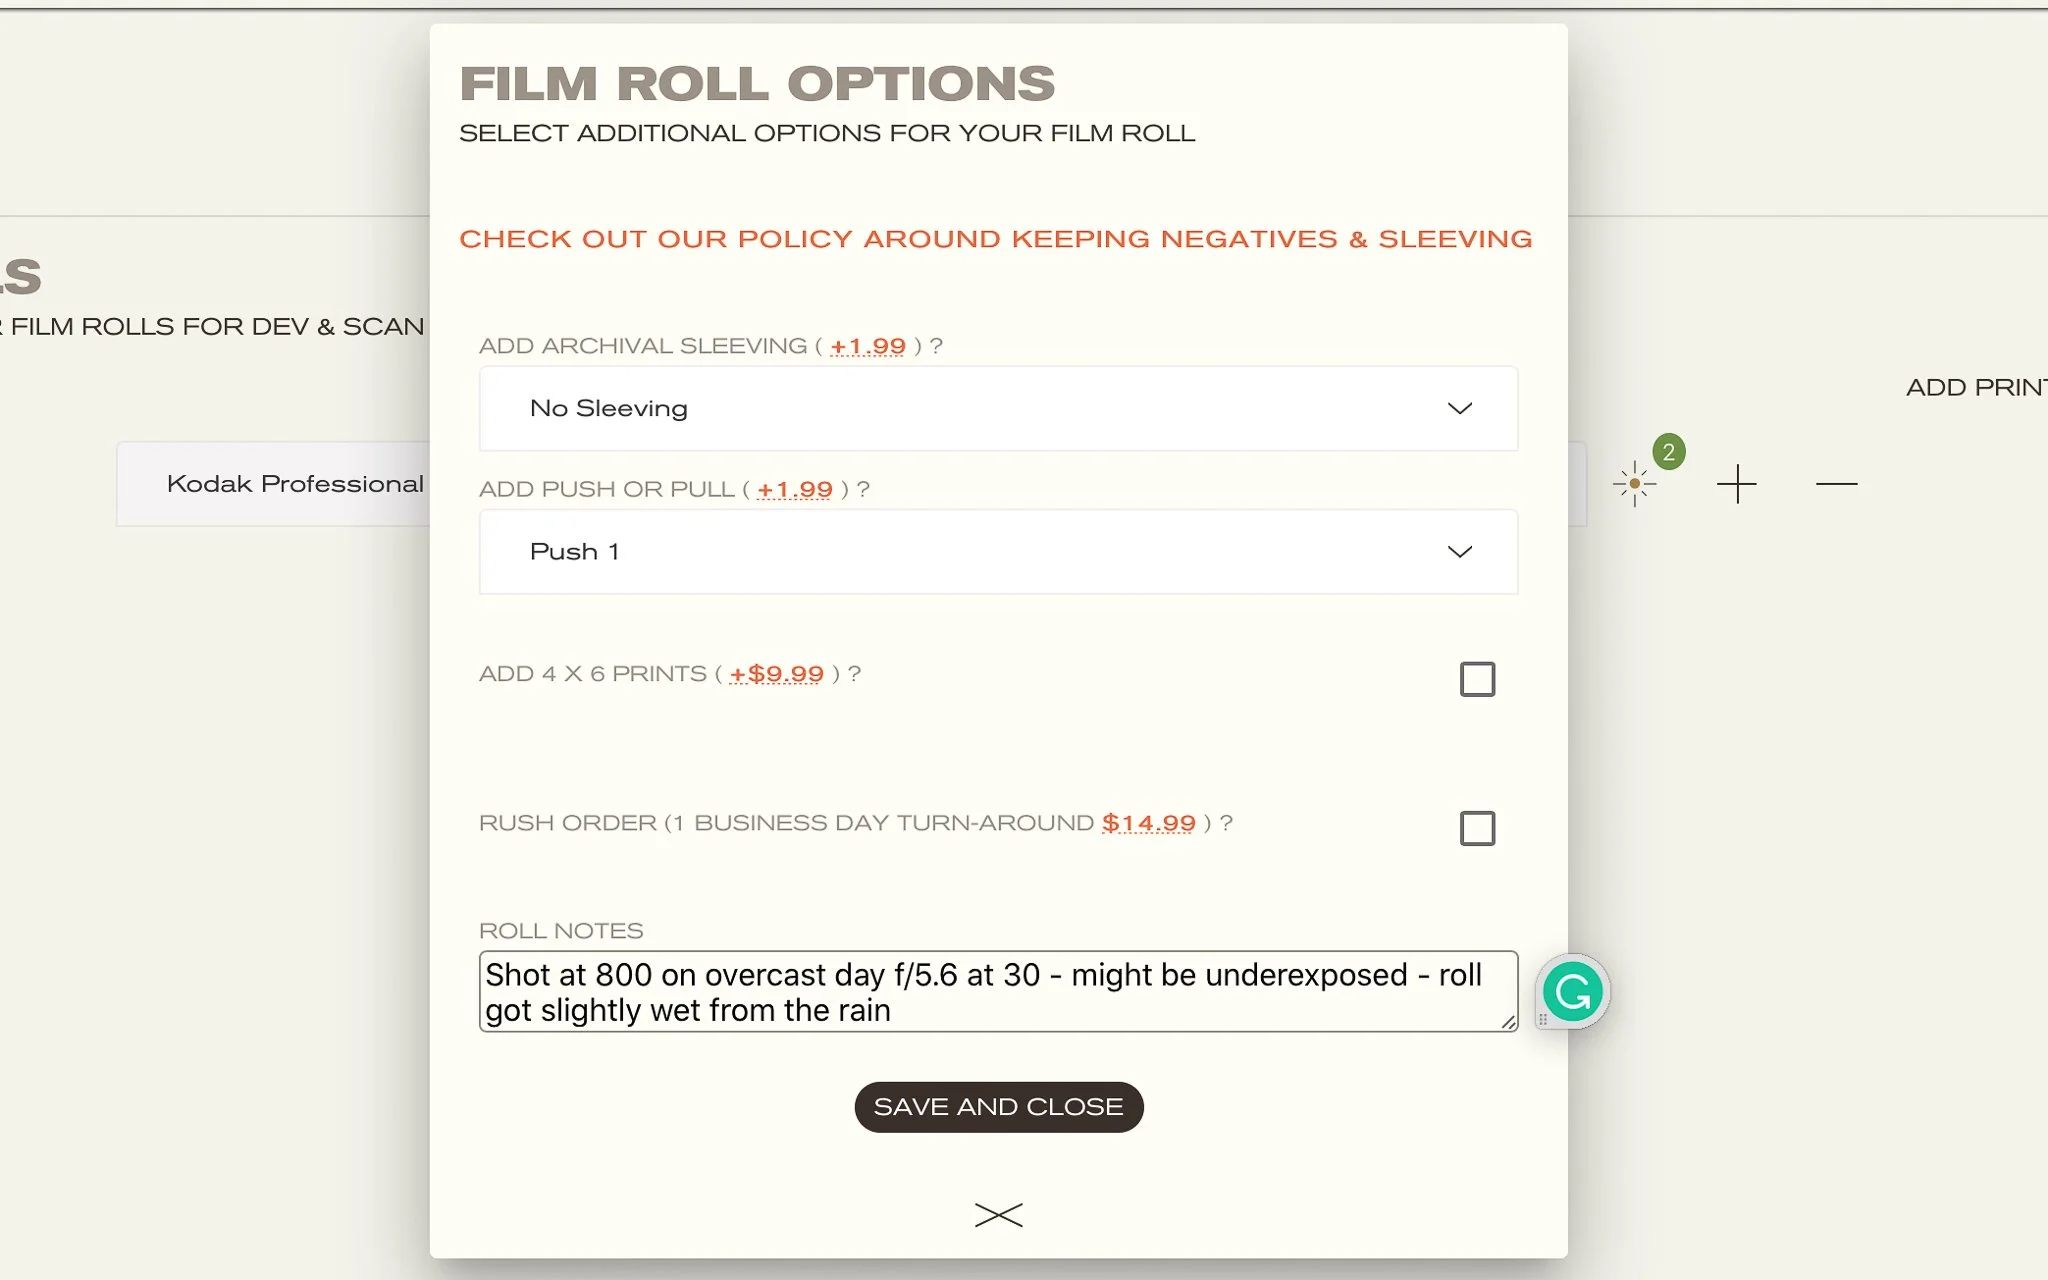
When doing experiments with pushing and pulling we recommend using our “roll notes” feature to track your changes. You can log things like time of day, lighting conditions, aperture and shutter speed, or even what you’re hoping the roll will look so you can compare your expectation to the final images. This information not only helps you track and improve, but it also gives us valuable insight into your shooting process. The more information we have the better we can problem-solve any issues, both in camera or environmental, affecting your photos. From there we are able to accurately advise you on how to achieve the best results.
Films we recommend for pushing and pulling
Color
Black and White
Push Pull Calculator
Still having trouble figuring it out? Use our Push/Pull calculator below:
Film ISO
Camera ISO
Push/Pull
BoxStops
0Using the value under “Stops“, tell your lab you’d like your film pushed (if positive) or pulled (if negative) the value above (e.g. I’d like my film pushed 2 stops).